
Ruffles can turn a simple design into an eye-catching masterpiece, adding dimension and texture. The beautiful pattern can be added to your knitting or crocheting project. Adding ruffles is a creative way to elevate your design and showcase your crafting skills with either knitting needles or crochet hooks. Whether knitting a sweater, scarf, or even a baby blanket, ruffles can be the perfect embellishment to make your project unique. So, gather your materials, pick your favorite thread, and let your imagination run wild. You can work with the same yarn used for the project or have fun with different yarn textures and colors.
In this blog, we'll guide you through adding ruffles to your knitting or crochet project step by step. By following these step-by-step instructions and incorporating your unique ideas, you can create stunning pieces that will turn heads.
Knitting Ruffles
Ruffles can be knit in a project at any point. You can work them at the edges or in the middle of the project. A provisional cast-on can be added to the collar, shoulder pads, or other garment sections. You can also add ruffles as an afterthought even after you’ve completed your project by picking up stitches. Just pick up a few stitches of the section and work the stitch pattern.
You can work out ruffles with any of your regular knitting needles. If you are working on a project in the flat (back and forth), you can work with any pair of single-pointed needles or circulars. If you want to add the wavy pattern to a seamless project on the right side, get out your set of double-pointed needles (DPNs) or the circulars in the length that accommodates the number of stitches, you will work with.
Step 1: Choose Your Ruffle Section
Decide where you want to add the ruffles to your knitting project. They can be added to hems, cuffs, collars, or even as an accent along a plain section of your piece. Once you've chosen your area, take accurate measurements to determine the number of stitches you need. You can easily work with twice or thrice the number of stitches.

Step 2: Cast On Stitches
Using a provisional cast-on method, cast on the desired number of stitches. This will allow you to easily remove the provisional cast-on later and create a seamless edge. You can work with either your knitting needles or a crochet hook of the same size. If you need more confidence with the provisional cast-on, you can choose to pick up stitches. This is relatively simpler as you can add loops to your knitting needle and work it out with increases.
Step 3: Knit the Ruffle
Work in your chosen stitch pattern for the desired length. You can use basic stitches like garter or stockinette or experiment with lace patterns for a more intricate look. Remember that the type of stitch you choose will influence the appearance of your ruffle pattern.
Step 4: Increase Stitches
To create the effect, increase the number of stitches on each row. You can achieve this by any of the knitting increases methods, such as making yarn overs or knitting into the front and back of stitches. Gradually increase the number of stitches on each row until you reach your desired ruffle fullness.
Step 5: Calculate the Ruffle Length
Determine the length of your section as too much length may not look appropriate, and a small size will look abrupt. Remember that ruffles will naturally curl and shorten, so make your section slightly longer than your desired finished length.
Step 6: Bind Off and Secure
Once your ruffle has reached the desired length, bind off the stitches. Carefully remove the provisional cast-on, revealing live stitches at the other end. Use a Kitchener stitch or grafting method to join the live stitches with the bound-off stitches, creating a seamless edge. A three-needle bind-off can help but ensure you know the technique.
Step 7: Finishing Touches
Weave in any loose ends using a finishing needle. Block your knitting project to set the ruffles and even out the stitches. Blocking helps the stitch bloom, lie flat, and polish your project. The process to block your project depends on the yarn, so carefully consider the yarn selection.
Crocheting Ruffles: Step by Step Guide
Crocheting ruffles is a fun and creative way to enhance your projects with playfulness and style. Whether you're making clothing, accessories, or home decor items with any of your crochet hooks, ruffles can add that extra flair that makes your work truly stand out. So, gather your materials, select your favorite yarn, and embark on a crochet journey filled with charming ruffles and endless possibilities.
Step 1: Foundation Chain
Start by crocheting a foundation chain of the desired length. The length of your foundation chain will determine the width of your pattern. Make sure to chain an even number of stitches for the best results.
Step 2: First Row of Stitches
Choose a stitch pattern. Double crochet, half double crochet, and treble crochet are commonly used stitches for creating ruffles. Work a row of your chosen stitch across the foundation chain, placing one stitch in each chain.
Step 3: Increasing Stitches
You'll need to increase the number of stitches in each row to create the ruffled effect. Begin by chaining one or two stitches at the end of the row (this serves as your turning chain). Then, work multiple stitches into each stitch of the previous row. The number of stitches you work into each stitch will depend on your desired ruffle fullness.
Step 4: Ruffle Height
Continue increasing the number of stitches in each row until you have reached the desired height. Remember that the higher the ruffle, the more pronounced the effect.
Step 5: Transition Row
To transition from the ruffle to the main part of your project, work a row of single crochet stitches evenly across the edge. This helps stabilize the crease and prepares the piece for the next section.
Step 6: Finishing Touches
Once you've completed your ruffle, weave in any loose ends using a finishing needle. Block your crochet project to set the ruffles and even out the stitches. Like a knitted project, the yarn will determine the blocking process.
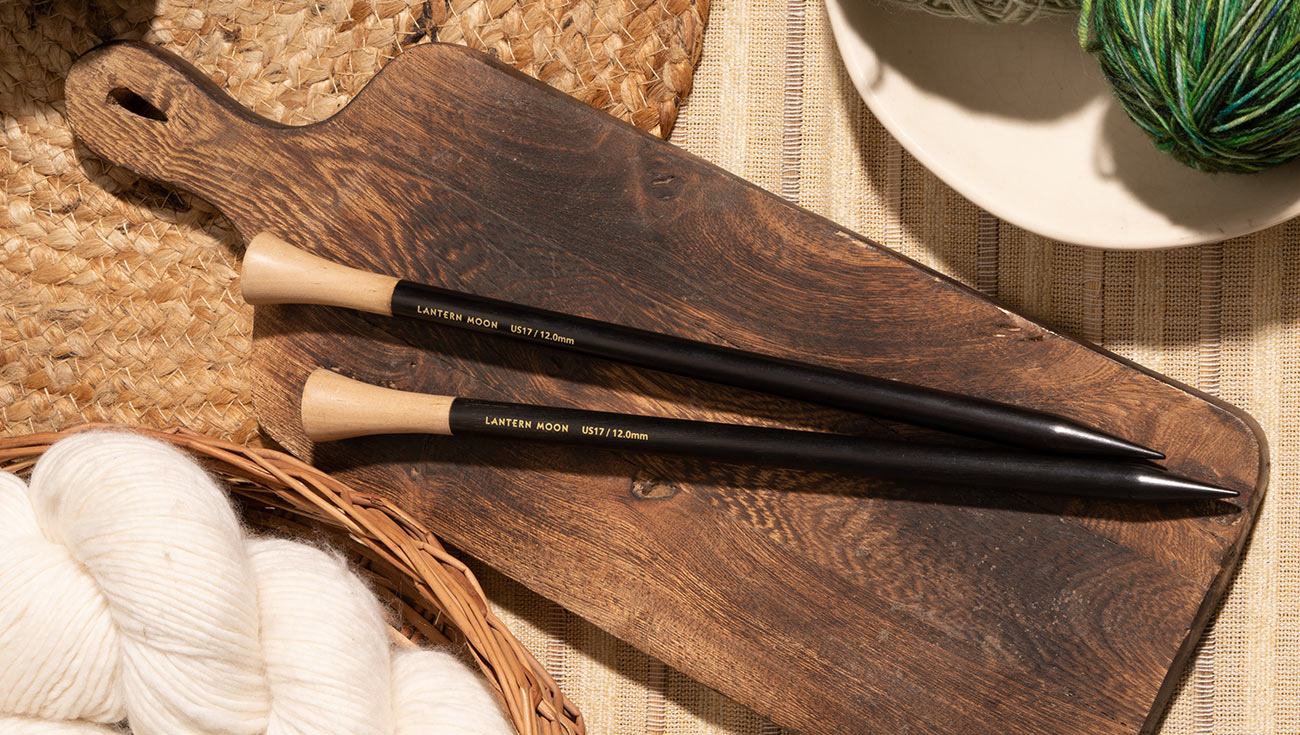
With this tutorial, you can easily add ruffles to your projects. For knitters and crochet enthusiasts the Lantern Moon Collection offers handcrafted tools for your craft. The premium knitting needles and crochet hooks are made from precious ebony wood. Each tool and accessory is crafted by a skilled artisan tapping into generations of craftsmanship. With individual needles and hooks along with specially designed knitting needle sets along with crochet hook sets in handmade fabric cases along with accessories, get all your craft needs met in one place.