
Are you looking to learn new stitches that add elegance and texture to your knitting projects? The twisted diamond stitch pattern is a beautiful choice. As knitters, we are always on the lookout for a challenge. You can make this exciting pattern with knit and purl stitches but with a little twist. Get ready to create a pattern of intricate diamond shapes with your favorite knitting needles. While it may appear complex, mastering this stitch technique is well within reach with practice and guidance. The best part is that you can work this pattern on any project, knit back and forth or in the round, from clothing to bags, socks to blankets, and more.
So what are you waiting for? Grab your trusted needles, knitting accessories, and yarn. In this blog, we'll walk you through the steps to knit the twisted diamond stitch pattern to assist you with the new stitch technique.
Understanding the Twisted Diamond Stitch Pattern:
The twisted diamond stitch pattern features a series of twisted knit and purl stitches arranged in diamond shapes. The twists are planned to create a three-dimensional effect that adds depth and visual interest to your knitting. The stitch pattern works with knit, purl, and intentionally twisted stitches. There are also accidentally twisted stitches that can spoil the project’s look. Our guide on how to fix twisted stitches in knitting will assist you. Basically, twisted stitches are ones that are not properly formed. They do not sit on the knitting needles right. To make twisted stitches, you will be slipping stitches off the needle tips and then putting them back in a way that looks raised and textured. Another option is to work the knit or purl stitch with only the front or back loop.
Gather your supplies
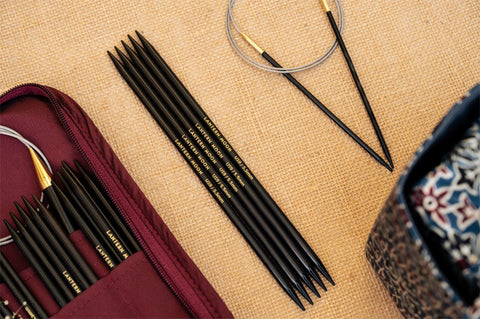
Knitting needles: Choose straight needles, DPNs or circulars according to your project. The suitable size is either mentioned in a pattern you are following or on the yarn label. Many knitters are of the opinion that circular knitting needles are of great help when you are learning new stitches. The needle tips are connected with a cord that helps you keep the weight of the project away from your hands, letting you focus on stitch-making. Similarly, many knitters prefer to learn new stitches with single-pointed needles before moving on to other needles. Both work in a pair, unlike double-pointed needles, which require you to manage 3 or 4 needles at one time.
Yarn: Depending on the project, the stitch pattern can be worked with any yarn. Chunky-weight yarns are not a suitable choice as they will make it difficult for the twists and textures to shine through. Similarly, fingering-weight yarn may be too intricate to highlight the stitch’s beauty.
Knitting accessories: Knitting essentials, including stitch markers, finishing needles in the right size, a repair hook, scissors, etc. are must-haves for all your projects.
Step-by-Step Instructions:
There are multiple variants of twisted diamond stitches. This one is an easy pattern. Follow these step-by-step instructions to knit the twisted diamond stitch pattern to make a small swatch.
Cast On: Cast on multiple 16 stitches plus 2 additional stitches with any technique to accommodate the pattern repeat. For example, you could cast on 40 stitches for a small swatch. The long tail cast-on is a beginner-friendly technique that gives a stretchy foundation.
RT = Right Twist
Knit 2 together and leave the stitches on the left needle. Knit the first of these two stitches again. Slip both stitches from the left needle together.
LT = Left Twist
Skip the next stitch to be knitted and knit into the back loop of the second stitch. Knit into the back loops of both stitches (the stitch you skipped and the second stitch).
Pattern:
Row 1 (WS): purl
Row 2: knit 1, *LT, knit 4, RT; repeat from *, ending with knit 1
Row 3: purl all stitches
Row 4: knit 2, *LT, knit 2, RT, knit 2; repeat from *
Row 5: purl all stitches
Row 6: knit 3, *LT, RT, knit 4; repeat from *, ending last repeat with knit 3
Row 7: purl all stitches
Row 8: knit 4, *RT, knit 6; repeat from *, ending last repeat with knit 4
Row 9: purl all stitches
Row 10: knit 3, *RT, LT, knit 4; repeat from *, ending last repeat with knit 3
Row 11: purl all stitches
Row 12: knit 2, *RT, knit 2, LT, knit 2; repeat from *
Row 13: purl all stitches
Row 14: knit 1, *RT, knit 4, LT; repeat from *, ending with knit 1
Row 15: purl all stitches
Row 16: knit 8, *LT, knit 6; repeat from *, ending with knit 2
Once you've mastered the twisted diamond stitch pattern, you can work on any scarf, blanket or clothes! The textured stitch pattern adds to the charm of any knitted project.
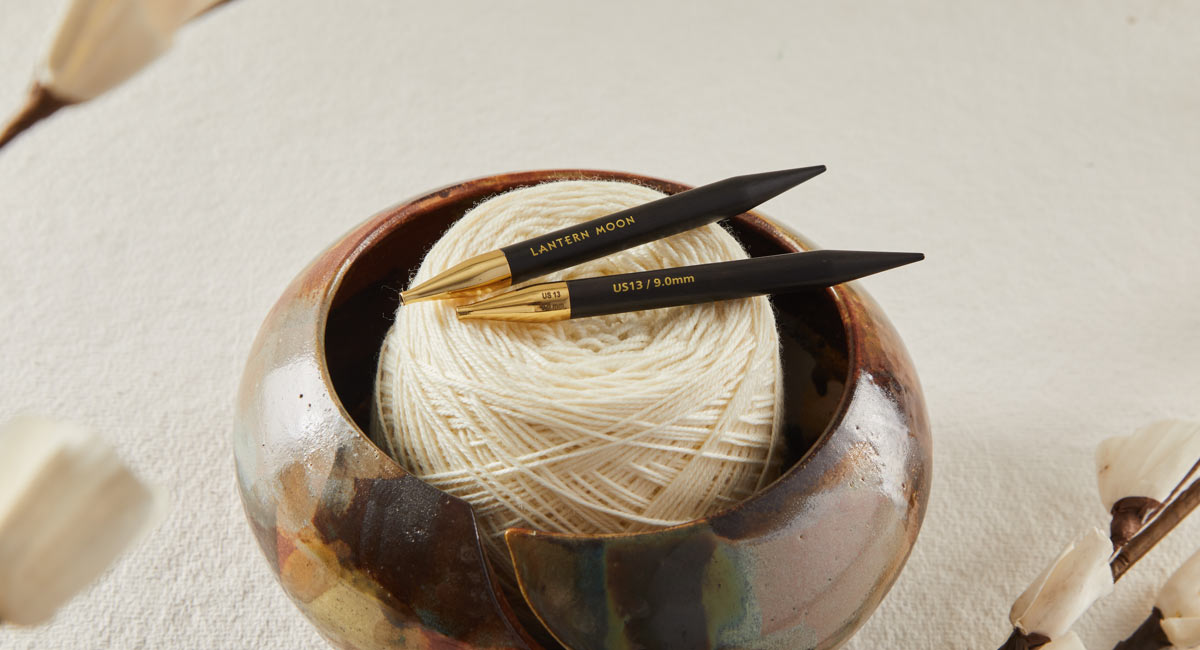
The trick to learning new stitch techniques is always comfortable knitting needles. Whether you are a beginner or a pro all your knitting needs, explore the Lantern Moon Collection. Choose from handcrafted needles carved for premium ebony wood. The luxury silk finish makes knitting with Lantern Moon a joy. Besides needles, explore hooks and stylish accessories that assist with all crafting needs. Happy knitting!