
The Kitchener Stitch is a handy knitting technique for grafting live stitches together without leaving a visible seam. Whenever you have stitches that are still on the knitting needles and want to seam invisibly seam for projects such as the toe of socks, sweater shoulders, underarms of garments, hats and mittens. The knitting technique does not require you to work with knitting needles; it only holds the stitches while you work with finishing needles, which is a must-have craft accessory. Kitchener Stitch involves a series of sewing steps using a length of yarn and a finishing needle that imitates knitted fabric and appears as a natural continuation of your project while creating an invisible join.
Want to learn more or revise the Kitchener Stitch? In this blog, we’ll walk you through the steps of mastering grafting live stitches also known as the Kitchener Stitch.
Setting Up Knitting Needles for the Kitchener Stitch
Setting up your knitting project is essential before diving into the technique of grafting live stitches. Ensure your stitches are arranged on two knitting needles holding the same number of stitches with the wrong sides of the project facing each other.
You can work with single-pointed needles in case you are working on a lace shawl or a sweater shoulder. Circular knitting needles working on any sweater, hat, or shawl work as a good option without having to move your stitches on other needle tips. You can even use two tips from the set of double-pointed needles (DPNs) when you are working on projects such as socks.
The Kitchener Stitch is most frequently applied to stockinette stitches but it can also be adapted for all kinds of stitch patterns including garter and ribbing. All with a bit of practice and clearing the concepts.
After you have set up the project on the knitting needles, you will need:
- Yarn used in the project or the yarn tail that’s left behind after completing the pattern. Ensure the length is about three times the width of the knitting project.
- A finishing needle (the same size or size smaller than the knitting needles) is used to execute the grafting steps.
- Stitch markers to mark points and scissors to snip off the yarn ends.
Step-by-Step Instructions to Graft Stitches aka Kitchener Stitch
1st Step: Thread yarn onto a finishing needle. On the knitting needle towards you, insert the finishing needle into the first stitch as if to purl (back to front). If you’re using the yarn tail pull it tight. However, if you’re using a separate piece of yarn, leave a tail long enough to weave in later.
2nd Step: Insert the finishing needle into the first stitch on the back knitting needle as if to knit (from front to back).
3rd Step: Get the finishing needle on the front knitting needle as if to knit. Slide the stitch off the needle.
4th Step: Insert the finishing needle into the new first stitch on the front knitting needle as if to purl.
Step 5: Move to the back needle and insert the finishing needle into the first stitch as if to purl. Slide the stitch off the needle.
When you need to remember to drop a stitch off the knitting needle, understand:
On the front needle, drop the stitch only when inserting the needle into it knit-wise.
On the back needle, drop the stitch only when inserting the needle into it purl-wise.
Step 6: On the back knitting needle, insert the finishing needle into the new first stitch as if to knit. Leave the stitch on the needle.
Step 7: Repeat the steps 3-6 until only two stitches remain, one on each needle.
Step 8: For the last two stitches, repeat Step 1 and Step 3. Adjust the yarn tension starting from the right, gently pull the right side of each stitch, then the left.
While the instructions may seem intimidating at first, the Kitchener Stitch is easier than it looks. The key is staying organized and keeping track of where you are in the sequence.
Handy Tricks to Master the Kitchener Stitch
- Say the steps aloud. Keep repeating “knit, purl, purl, knit” or “knit off, purl on, purl off, knit on”.
- Note down the steps on a cue card for quick reference.
- Adjust yarn tension with the blunt tip of your finishing needle before weaving in the ends. This ensures the grafted row matches the gauge of your project.
- Practice on stockinette or gauge swatches.
The Finishing Touch

With the Kitchener Stitch in your knitting toolkit, you’ll be able to create neat finishes on your projects. Whether it’s socks, mittens, or sweaters, this technique comes in handy for invisible seaming. If you are overwhelmed with the detailed Kitchener stitch, you can explore our guide to work the three needle bind off in knitting.
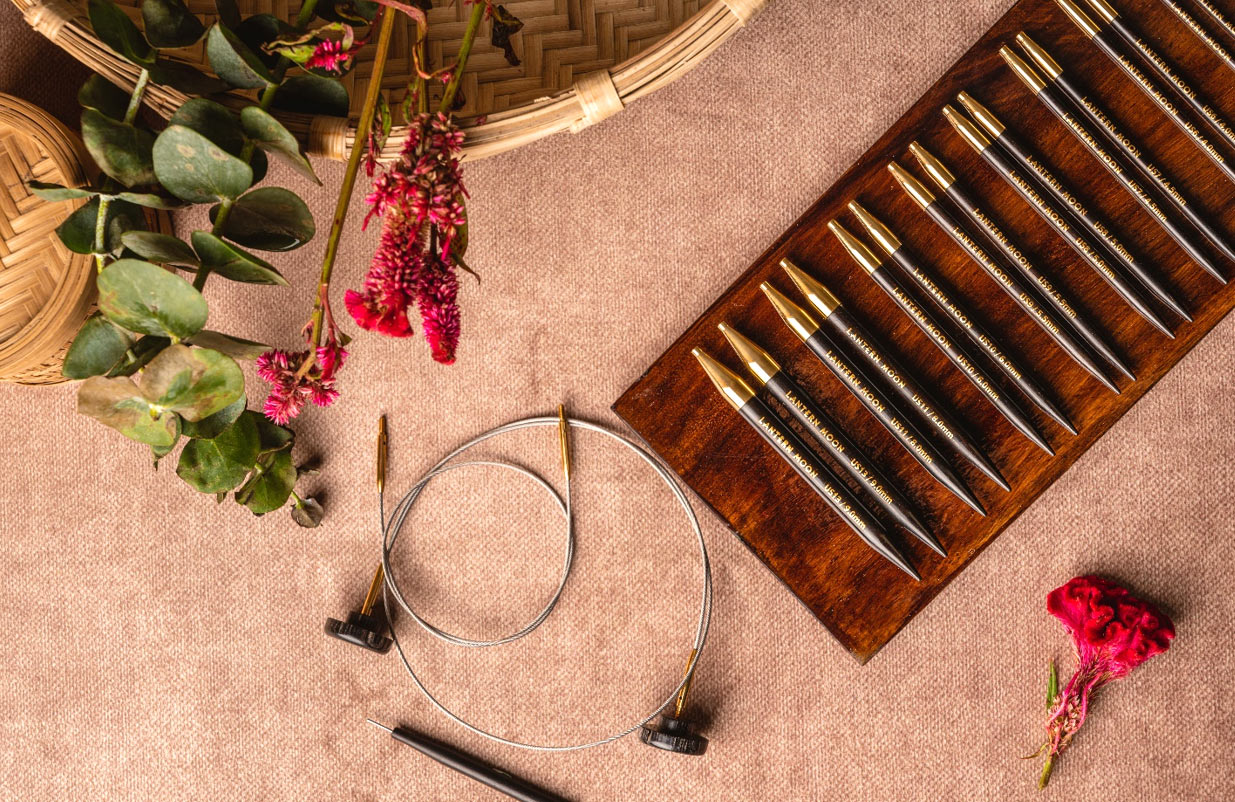
For smooth, snag-free stitching, ebony wood knitting needles are an excellent choice. Their polished surface lets yarn glide effortlessly, making the process of grafting even more enjoyable. Plus, their natural warmth and durability enhance your overall knitting experience. Explore the beauty and functionality of finishing needles and ebony wood knitting needles from Lantern Moon and you’ll soon master the art of seamless grafting.