
Want to knit something fabulous this summer for your outdoor outings? Summer days are ideal for picnics, so why not work on a blanket with your knitting needles for the fun times? A picnic blanket is fun to make and adds to the fun of basking in summer bliss in your favorite park or garden by a pool or lake. Knitted picnic blankets give you endless opportunities to experiment with your needles. Moreover, they're perfect for working with yarn stash left over from previous projects. Now, for a picnic blanket, there are plenty of patterns; mitered squares are a lovely design for your blanket. All you need is your favorite circular knitting needles and scrap yarn!
Planning a Mitered Square Blanket
![]()
Mitered squares are an interesting name that comes from mitred joints. The 45-degree angle joints placed next to one another form an interesting pattern. The mitered squares are knit by the sides of the square. You can plan small squares or work with large squares according to your design. Whether a beginner or an advanced knitter, you can work out the project with basic knitting skills- knit, purl, knitting decreases, and seaming.
Yarn for the Mitered Squares Blanket
Working with leftover yarn for your mitered square blanket is a great option! If you have been a knitter for a long time, you may have accumulated a lot of yarn in different weights. DK yarn is common and serves beautifully for the blanket. This project also allows you to be as colorful as you want, making the squares in different colors. Once they come together, you get the many shades of the rainbow. You can knit the squares at your leisure and seam them together for the blanket.
Knitting Needles needed for Mitered Squares
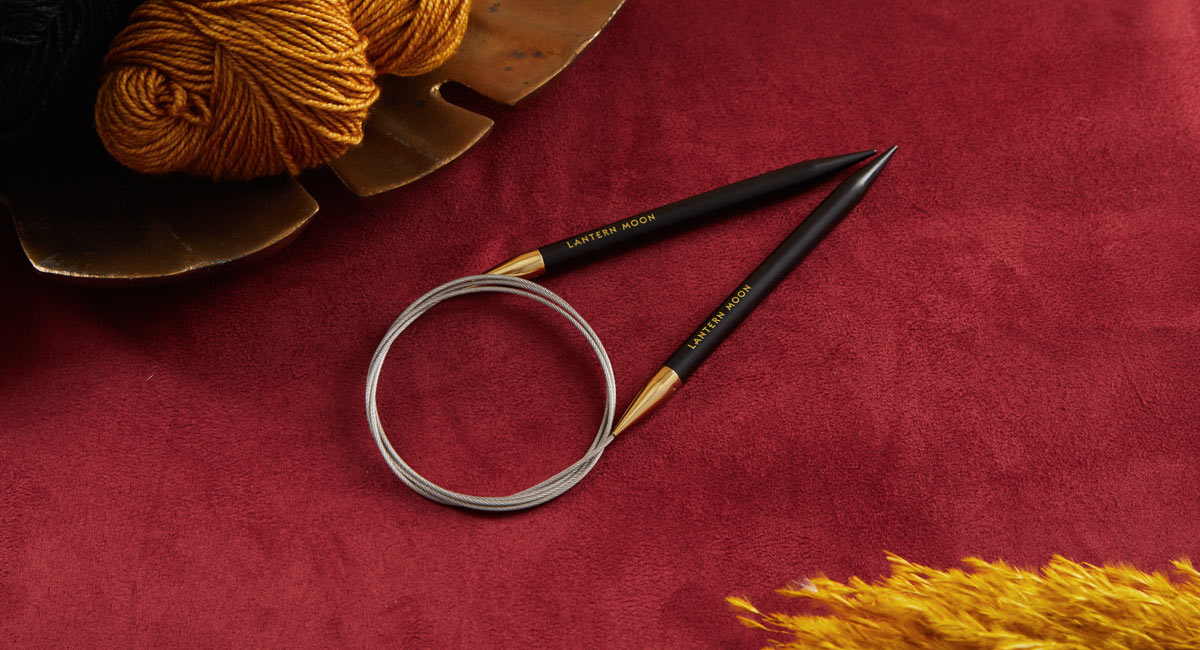
Though essentially knit back and forth (flat) with circular needles or a pair of single-pointed knitting needles, the square's beauty is that you can use a pair of DPNs from the set of five. Depending on the size of the mitered squares, you can choose your knitting needles. If you're planning small, work with double-pointed needles as you only have a handful of stitches. The knitting needle sizes depend on the yarn weight. Knitting a gauge swatch will assist you with deciding if you are working with the correct size and getting the desired result.
![]()
Now, with your yarn and knitting needles, start on your project. Keep stitch markers, a finishing needle, a repair hook, and a handy pair of scissors close at hand. The knitting accessories not only assist with your craft sessions but also allow you to enjoy creating with your hands.
Calculating the Gauge - Many knitters may skip knitting and calculating a gauge swatch for a blanket, but it is a step you must take for knitting mitered squares. If you are working with a stash, this step will help determine if you have enough yarn to knit the picnic blanket.
Cast-On Stitches—Calculate the number of stitches required to complete one side of the square. For example, one side of the square needs 20 stitches. Then, cast them first using any method of casting the stitches. Cast on with a crochet hook, as you will have a beautiful base for the project. Afterward, set a stitch marker to denote the halfway point, as this will be the corner of the square. Ensure that there are equal stitches on both sides of the marker.
Knitting The Miter Stitch Pattern
1st Row - wrong side (WS) - Knit across and slide the marker.
2nd Row, the right side (RS) - Knit up to two stitches before the marker, then perform a knit two together (k2tog) stitch, slip the marker, and complete with a slip, slip, knit (ssk) stitch before proceeding to knit the rest of the row.
Keep repeating rows 1 and 2 until you have only four stitches remaining. After a few repetitions, the square corner forms. When the corner is halfway complete, you'll see the square.
Finishing - Finish the square by knitting until four stitches on the needle follow a wrong-side row. On the right side (RS), knit the first decrease, remove the stitch marker, and then the second decrease. You should now have two stitches remaining. Afterward, complete the square with a standard knit bind-off on the wrong side. With this, you've successfully knit a mitered square!
Seaming the Blanket
Once you’ve knit enough squares for the blanket, it’s time to bring it together. The mattress stitch or a similar technique works beautifully. Additionally, you can use the tails to sew the seams, eliminating the need to weave in any yarn ends. This option works best when your squares are large. If you would rather avoid the seams and want the mitered sections to flow into or overlap, join the squares while knitting. This technique involves picking up stitches from the previous square to begin the next one, as the pattern schematic dictates.
Try knitting two colors in a stripe pattern to personalize the mitered squares further. Mitered squares are magic, so get ready to cast your spell. You can make a beautiful picnic blanket from humble scrap yarn to enjoy the summer! If you want to explore, try out 5 crochet blanket patterns this summer!
Make your knitting sessions all the more fun with Lantern Moon. The ebony wood knitting needles and crochet hooks are a pleasure to work with. Accessories from the collection assist you with all your craft needs. Choose knitting needle sets that you can carry for your outdoor sessions.