
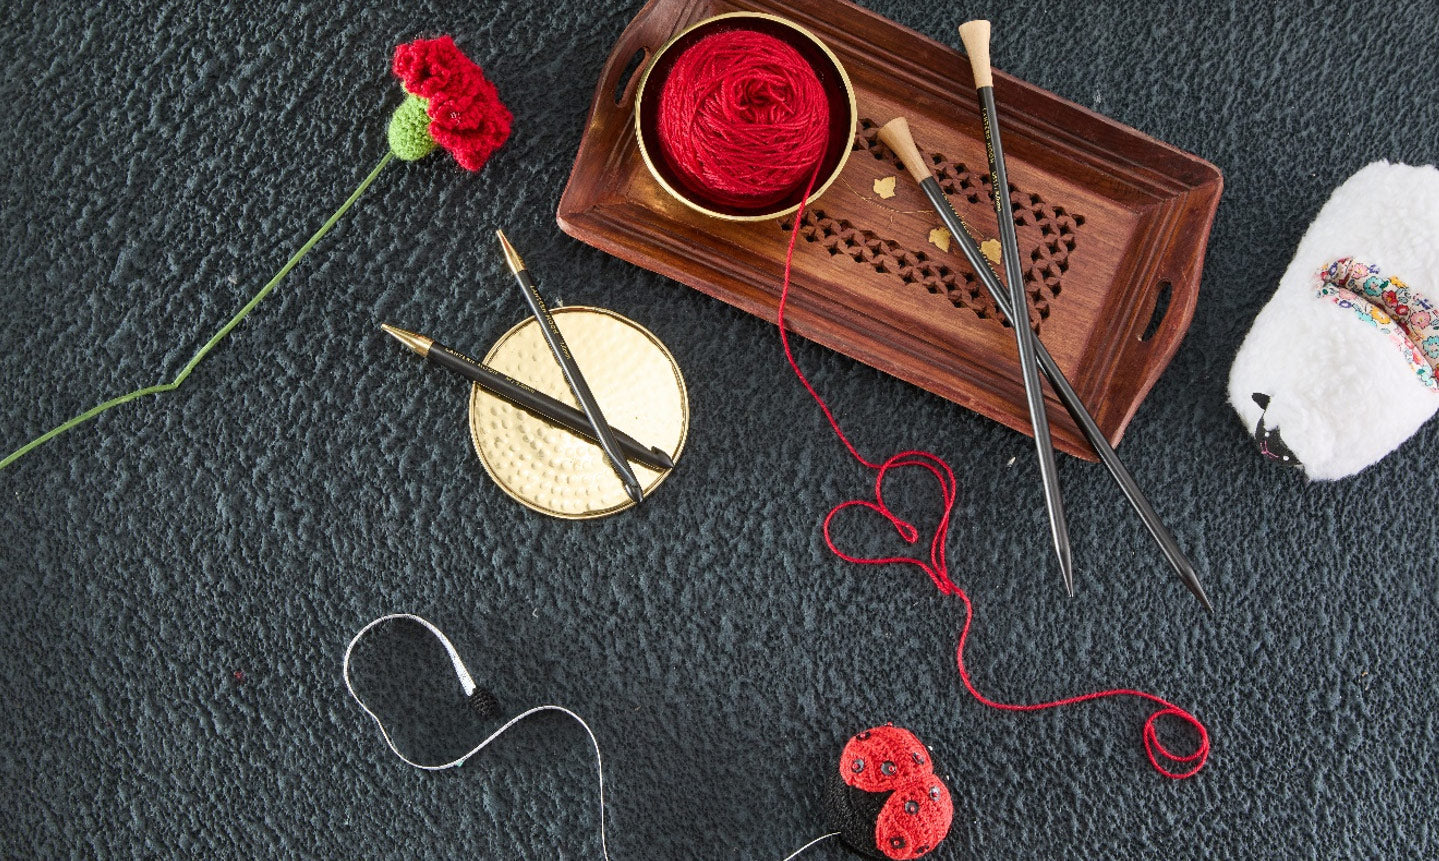
When you're knitting or crocheting, running out of yarn makes you worry. However, you can finish your project without any knots or loose ends if you use the proper yarn-joining techniques using the necessary tools, such as knitting needles or crochet hooks. Let's discuss in this blog several joining techniques that will make your project flawless.
Understanding Yarn Joining
Whether you're switching shades or staying with the same color, yarn joining techniques guarantee a seamless transition between yarns. The type of project, yarn composition, and visibility requirements influence the best approach.
Let's Discover Yarn Joining Technique
1. Weaving in the Ends
With this technique, the old and new yarn are held together while a few stitches are knitted. For an invisible finish, later weave the ends into the fabric with a finishing needle. The method is suitable for tasks requiring a neat, knot-free appearance.
Pros
- Make a join that is not visible.
- Works well with all types of yarn.
- There is no chance of yarn unraveling.
Cons
- It takes more time.
- The ends must be woven in with a finishing needle.
How to do it:
- Hold the old yarn next to the new one.
- Use both strands to knit a few stitches.
- Continue knitting using the new yarn after dropping the old one.
- Finish up by tying any loose ends.
When to use
- The technique is perfect for both projects (knitting and Crocheting).
- This is generally used after completing projects, changing the colors, or joining a new yarn.
2. Russian Join
An excellent method that works well with most yarns and prevents knots. The technique is ideal for a smooth join and is perfect for both crafts.
Pros
- No knots in sight.
- Sturdy and reliable connection.
- Excellent for color changes.
Cons
- Can be challenging for beginners
How to do:
- For this, you need a finish to thread the old yarn.
- To make a tiny loop, weave it back into itself.
- Weave the fresh yarn back into itself after passing it through this loop.
When to use
- The technique is perfect for yarns that don't feel like cotton or acrylic.
- When you want a seamless join with no visible yarn tail.
- In case of join in the middle of the row.
3. The back Join
This is an ideal method for knitting and crocheting projects when you want a seamless joining of a new yarn or color without weaving in the end.
Pros
- The idea is to change colors at a specific stitch.
- In the end, you don't have to weave.
Cons
- When using thicker yarns, you will generally see the thick stitches on the front of the fabric.
How to do it:
- Make sure you identify and mark the point, where you want to change color, use Tassel or Meadow stitch markers from Lantern Moon.
- Work the first stitch, as if you were working a normal stitch.
- Continue knitting or crocheting with your crochet hook, and working the new yarn in the back of the stitches.
When to use: You can use this method in stripes, especially in the round. Refer to our quick guide, for crochet colorwork methods and how to do it.
4. Braided Join

In this technique, you braid the ends of yarn pieces together, creating a strong and neat connection, particularly for the piled yarn.
Pros
- You don't need to weave the ends.
- You get neat and clean on the front and back of the fabric.
Cons
- It's not suitable for novelty or single ply yarn.
- Not recommended for color change.
How to do it:
- First separate the piles of the old yarn into two sections.
- Now, hold the end of the new yarn at the dividing point of the old yarn, creating three strands in total.
- Lastly, tightly braid the three strands together.
When to use: Use this method for the same color join.
5. Knot and Cut Tails
In this method, it involves tying the two yarn ends together, trimming the excess thread and leaving a small tail.
Pros
- No ends to weave in
- One of the quickest methods of joining.
Cons
- The knot may end up on the front of the work.
- There might be a risk of the knot coming undone.
How to do it:
- In knitting, knot the two ends of the yarn together.
- Cut the yarn ends off close to the knot and continue knitting.
When to use: When working with the same shade of yarn, an amigurumi crochet project, rugs, and home decor.
Yarn Joining Technique at a Glance
|
Technique |
Crocheting/Knitting |
Best for |
Difficulty Level |
|
Weaving in the Ends |
Both |
Professional look and clean finish |
Beginner |
|
Russian Knot |
Both |
Joining yarn ends securely and invisibly |
Intermediate |
|
The back Join |
Both |
Round and changing colors |
Intermediate |
|
Braided Join |
Both |
Effective for pilled yarn |
Beginner |
|
Knot and Cut tails |
Both |
Tying the ends together |
Beginner |
Become proficient in yarn joining techniques to get seamless transitions in your knitting and crochet projects. The best method for your yarn type and project needs will determine whether you like the Russian, braided, or back join. Lantern Moon offers premium knitting accessories to make your crafting journey smooth.