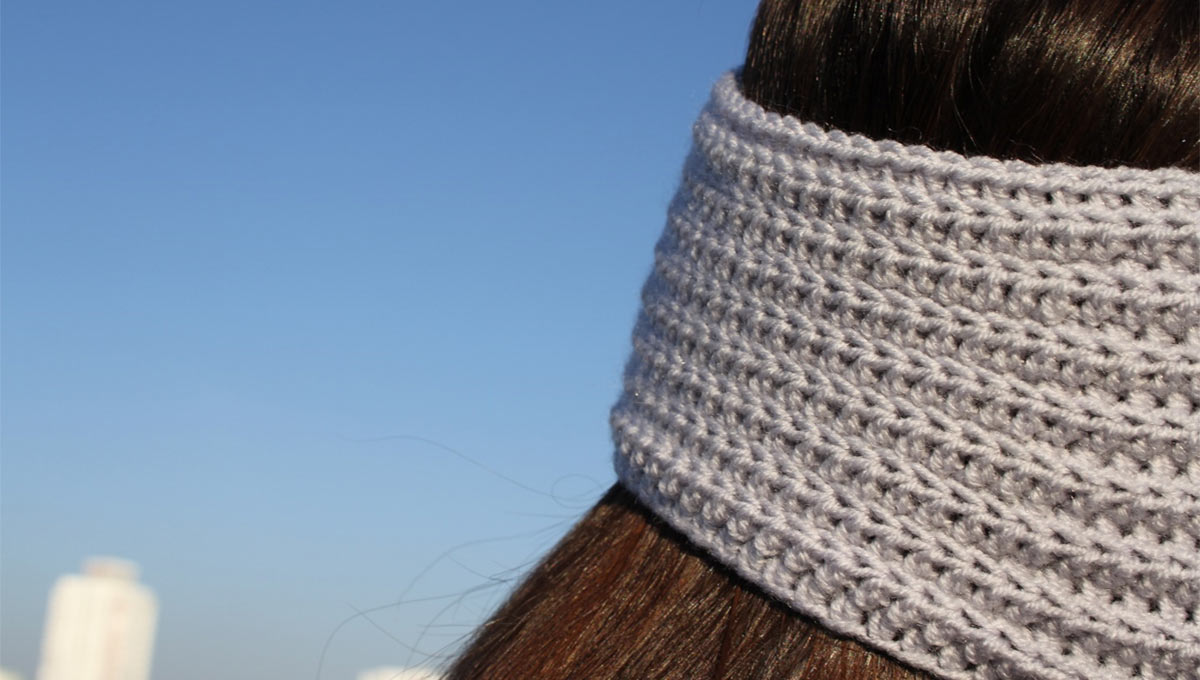
Creating a beautiful and practical piece with the help of knitting needles is so satisfying. The great thing about knitting is that it is an endlessly adaptable craft. Once you have learned the basic stitches, you can move on to several projects. It is also a craft that you can use to express yourself. From funky scarves and quirky socks to cozy mittens and hats, you can find countless patterns to make the most of your favorite yarns and creative flair.
This blog will show you how to knit your first hot mess headband.
The Hot Mess Headband is a fun, easy knitting project with a unique twisted cable design. Before you start, ensure you have all the materials needed and read through the entire project.
This beginner-friendly pattern is perfect for those who want to try something new and stylish. Here's a step-by-step guide to help you knit this adorable headband with our favorite double-pointed and circular knitting needles:
Materials Needed:
- Worsted weight yarn
- Double pointed knitting needles (size US 8 or as per gauge)
- Circular needles (size US 8 or as per gauge)
- Stitch holder or spare double-pointed needle
- Tapestry needle

Steps for Double Pointed Knitting Needles (DPNs):
- Cast On Stitches: Cast on about 16-20 stitches using the long-tail cast-on method onto one of your DPNs.
- Join in the Round:
- Divide the stitches evenly among both DPNs, ensuring they aren't twisted.
- Be careful not to twist the stitches.
- Put a stitch marker there to indicate where the round starts.
- Knit Rows: Work in the round using a knit stitch until the headband reaches your desired width (usually about 3-4 inches).
- Place Stitches on Holder: Once you've reached the desired length, transfer half of the stitches onto a stitch holder or spare DPN, keeping the other half on your current DPNs.
- Work Remaining Stitches: With the remaining stitches on your DPNs, continue knitting till the last stitch.
- Join Stitches: Now, knit all the stitches left on your third needle.
- Knit Across: now continue knitting typically as earlier to form a complete headband.
- Bind Off: When the headband is the desired length, bind off all stitches. Cut the yarn, making sure to leave a tail for weaving.
- Finishing: Weave in the loose ends using a tapestry needle to secure them neatly.
Steps for Circular Needles:
- Cast On Stitches: Cast the same number of stitches as with the DPN method onto your circular needles.
- Join in the Round: Join the stitches in the round, being careful not to twist them. Put a stitch marker there to indicate where the round starts.
- Knit Rows: Work in the round using a knit stitch until the headband reaches your desired width.
- Transfer Stitches: Transfer half of the stitches to a stitch holder or spare circular needle.
- Continue Knitting: Knit the remaining stitches until this section matches the length of the first half.
- Combine Stitches: Bring both sets of stitches back onto your circular needles to form a complete round.
- Knit Across: Knit all the stitches in the round to complete the headband.
- Bind Off: When the headband is the desired length, bind off all stitches. Cut the yarn, making sure to leave a tail for weaving.
The Hot Mess Headband is versatile, so adjust the width or length to suit your preferences. You can modify the instructions if you have any specific stitch patterns or techniques you'd like to incorporate. This project is a great way to practice your knitting skills and create a unique and stylish accessory.
The art of knitting the Hot Mess Headband becomes an experience of luxury and creativity when paired with Lantern Moon's premium knitting needles, which are handcrafted from exotic ebony wood. The smoothness of the ebony wood ensures a fluid start to your project, allowing stitches to glide effortlessly and saving you from hand or wrist pain. Give them a try before you decide. You'll find yourself falling in love with them, much like you do with your creations.