
Tunisian crochet is filled with unique stitches that can really make your projects stand out. One such stitch is the “Tunisian Reverse stitch”, a non-curling wonder that seamlessly combines with various stitches, resulting in stunning patterns with a Tunisian crochet hook. It is an old technique that was popular in the 1970s and is enjoying a revival today. It is an excellent stitch for making thick and sturdy crocheted fabric, such as blankets and hats. This blog will simplify mastering the Reverse stitch, guiding you to craft mesmerizing textured fabric effortlessly. Follow along step-by-step, creating captivating textures with ease.
The Tunisian Reverse Stitch in Crochet
The Tunisian Reverse Stitch, a fundamental in Tunisian crochet, forms a textured, bumpy fabric akin to a purl stitch in knitting. In the execution process, moving from left to right (or reversed for left-handed crafters), the hook traverses behind the vertical bar of the preceding row. Wrap the yarn over and pull it through, resulting in a raised stitch visible on the front and forming a horizontal bar on the back. Its versatility shines with other Tunisian stitches, enabling diverse textures and designs. It is ideal for crafting intricate patterns for scarves, blankets, or any project requiring a textured design element. This stitch offers a creative edge, elevating Tunisian crochet projects with its unique, textured appeal and potential for varied visual outcomes. Let’s try it by making a simple scarf.
Required Materials:
- Pick up a Tunisian crochet hook (Aluminum, bamboo, or wooden crochet hooks) that is appropriate for your yarn from your crochet hook set.
- Choose the yarn of your choice in any color.
- You will need a yarn needle to weave in any loose ends
- Keep scissors handy to cut the yarn.

Pattern:
Foundation:
- Chain: Begin by chaining multiple stitches to achieve the desired width of your scarf.
- Foundation Row: Work the foundation row across the chain in the Tunisian Simple Stitch (TSS) or Tunisian Knit Stitch (TKS). This row will serve as the base for your scarf.
Tunisian Reverse Stitch Rows:
Forward Pass (Right to Left):
- Insert Hook: Insert your hook from right to left under the back vertical bar of the next stitch (furthest away from you).
- Yarn Over & Pull Up a Loop: Yarn over and pull up a loop through the stitch. Keep the loop on the hook.
- Continue Across: Repeat the insert and yarn over steps across the row until one loop remains on the hook.
Return Pass (Left to Right):
- Chain 1: Chain 1.
- Yarn Over & Pull Through 2 Loops: Yarn over and pull through two loops together across the row until you have one loop remaining.
Repeat Rows:
- Work rows using the Tunisian Reverse Stitch until the scarf reaches the desired length. Don't forget to maintain a constant level of tension.
Finishing:
- Bind off your stitches by slip stitching across the row.
- Using a yarn needle, bind off the yarn and weave in any loose ends.
Feel free to customize the scarf by adjusting the width and length or experimenting with different yarn colors and textures.
Here are some helpful tips for working on a Tunisian Reverse Stitch scarf as a beginner:
Consistent Tension: Maintain a steady tension throughout your work to achieve an even and uniform appearance in your stitches.
Start Slow: Begin with a smaller width to get comfortable with the stitch before attempting a wider scarf. This allows you to concentrate on perfecting the technique.
Practice the Stitch: Practice the Tunisian Reverse Stitch on a small swatch before starting your scarf to familiarize yourself with the stitch and achieve the desired tension.
Counting Stitches: Count your stitches at the end of each row to ensure you're maintaining the correct number. Mistakes are easier to fix early on.
Relax Your Grip: Avoid gripping the hook too tightly. A relaxed grip allows for smoother movement and helps prevent hand fatigue.
Use Stitch Markers: Place stitch markers at the beginning and end of rows to help you identify where to start and finish each row, especially if the edges tend to look similar.
Blocking: Consider blocking your finished scarf to even out the stitches and give it a more polished look. It can also help stretch the stitches for a more defined pattern.
Enjoy the Process: Tunisian crochet might feel different initially, but it can be a calming and enjoyable technique once you get the hang of it. Embrace the learning curve and take pleasure in the craft.
Remember, practice makes progress! With each row, you'll gain more confidence and skill in working with the Tunisian Reverse Stitch.
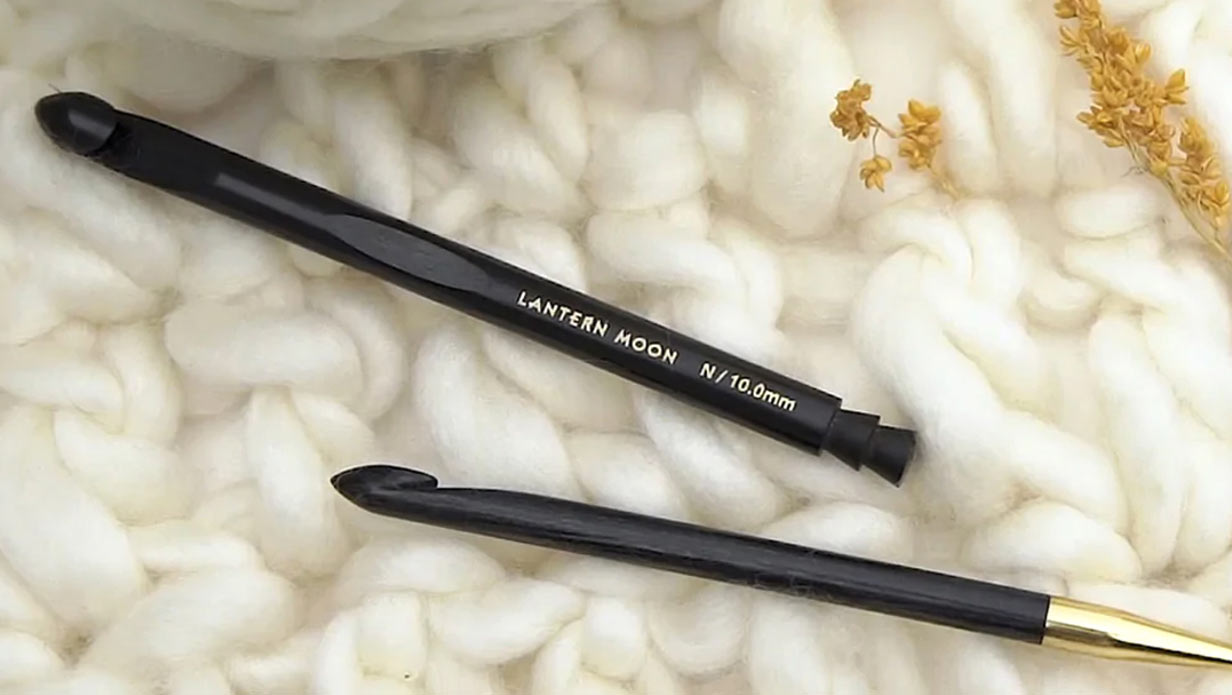
Scarves serve as ideal beginner projects, offering skill development. As confidence grows, the transition to larger projects becomes achievable, fostering continued progress and mastery in crochet. Opt for interchangeable Tunisian crochet hooks for larger projects like blankets for versatility. These tools accommodate varying project sizes, ensuring seamless stitching and flexibility for intricate designs. Choose the premier Tunisian crochet hook, such as Lantern Moon's, to enhance your crafting journey. Melding style, quality, and personal taste, these hooks, handcrafted from ebony wood, cater to individual needs. They're designed to meet your unique crafting needs, ensuring a seamless, personalized experience.