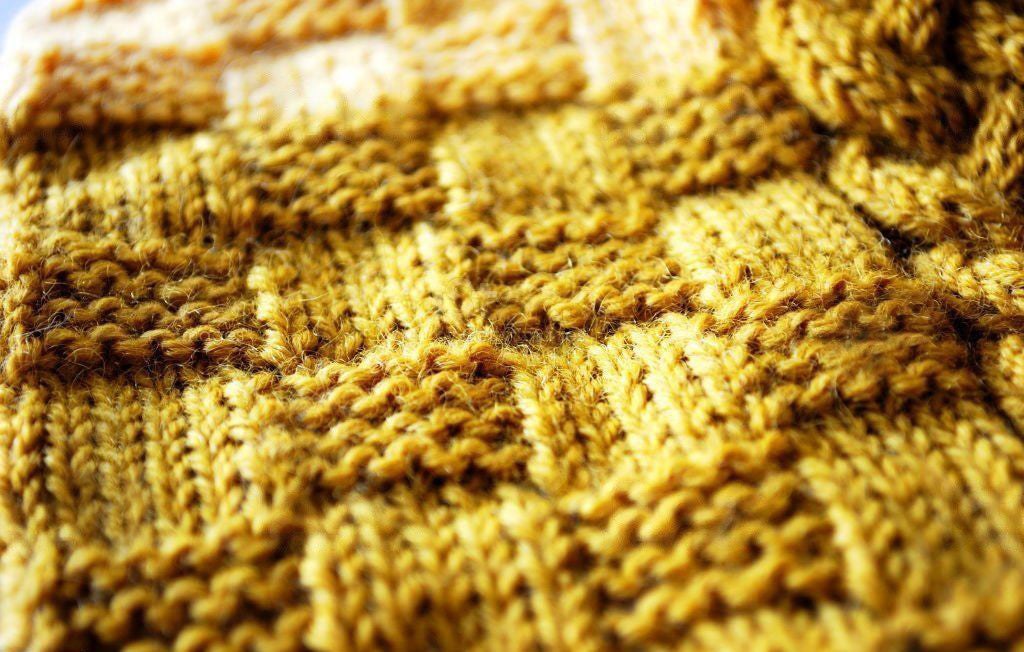
The basketweave pattern provides a gorgeous texture to your knitted fabric. With your favorite knitting needles and yarn, you can easily knit the beautiful textured pattern. The technique of knitting a basketweave texture is easy, even though it looks complex. Like many stitches in knitting, the stitch comprises knit and purl stitches. Interestingly, the pattern comes in many variations and you can try others or even design your own. This stitch is perfect for beginners while advanced knitters can enjoy making their own designs.
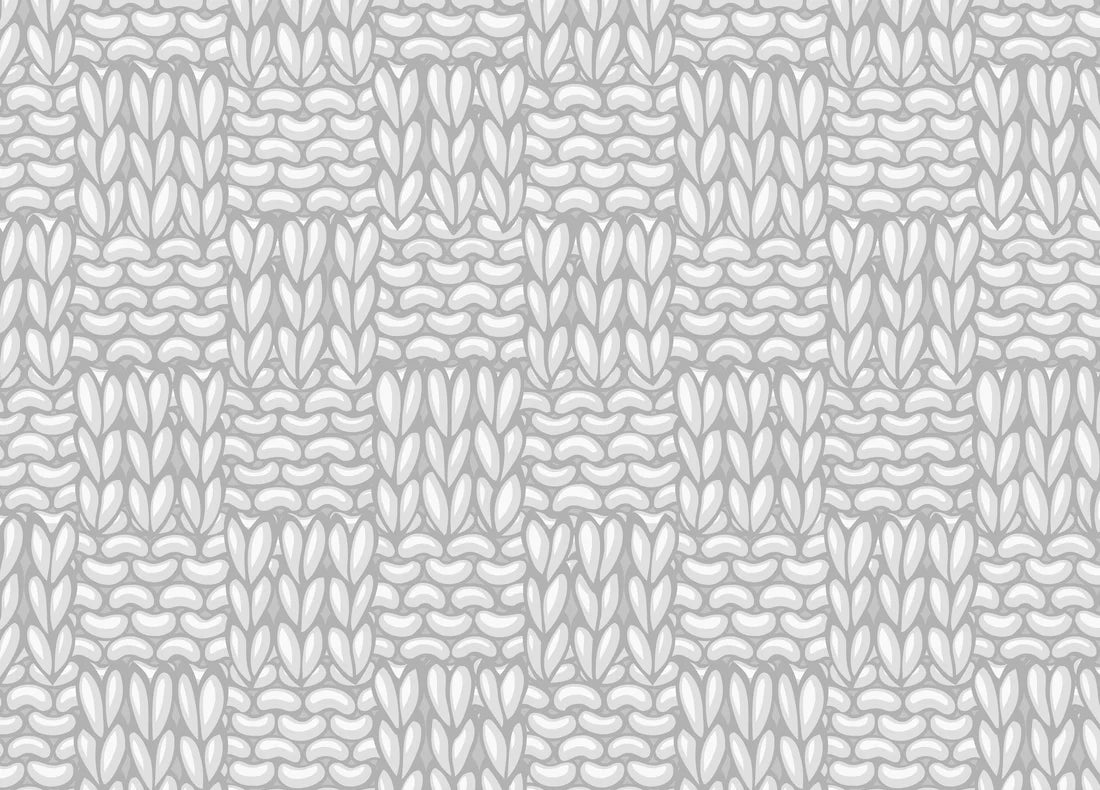
Typically the basketweave stitch uses an even number of knit and purl stitches, 4-8 columns of knit stitches and then 4-8 columns of purl stitches. By alternating between the knit and purl stitches, you form areas of stockinette stitch with reverse stockinette "woven" in and out. The result is a knitted material that resembles a woven basket, hence the name. And because basketweaving produces many textures, your knitting project can do the same. You can make the vertical columns of stitches the same width as the same number of rows for your horizontal bands of stitches. This makes a balanced design of evenly sized rectangles, more like a checkerboard.
The basketweave stitch is great for hats, scarves, blankets, table runners and more! In this blog, let’s take you through the easy steps to knit the basketweave pattern.
Here is our easy-to-follow pattern for the Basketweave stitches:
Step 1: Choosing the Knitting Needles and accessories
The right knitting needles assist you in not just basketweave stitches but other projects. You will need a knitting needle, a pair of scissors, a finishing needle, tape measure, stitch markers, etc.
If you are still unsure about what type of knitting needle would suit you best, take a look at the ample range of Lantern Moon. Our handmade ebony wooden knitting needles fit every knitting style. They have a warm feel in your hand while the liquid silk finish allows smooth movement of stitches. You can easily go ahead with a single pointed needle or use a circular knitting needle for knitting a flat project. To knit a round project in the basketweave pattern, circular needles and a set of double-pointed needles are the tools you’ll need.
Step 2: Choosing the Yarn
The next obvious step is choosing the yarn. If you are following a pattern, you have the information but if you are designing the pattern, keep in mind what you would like to make. If you want to practice with a knit gauge swatch you can use stash yarn leftover from projects. You can also add some colors by using different yarns for different rows.
Step 3: Cast on Stitches
Create a slipknot and cast on stitches in multiples of 8+5. Optionally, use a long needle length (both single pointed and circular needles work) and stretch your stitch, so that you can see the stitches clearly. If you are making things in the round, use circular knitting methods.
You can use any number of stitches for each block, for example multiplying by an even number; for example, 4x8, 4x10, etc., and so on — for variations on the basic basketweave.

Step 4: How to Knit the Basketweave Pattern
You will be using knit and purl stitches. To make things easy to understand, we’ll be working 8 rows to see the pattern formation.
Rows 1 to 4 - Knit 4 stitches, purl 4 stitches, and repeat till the end of the row.
Rows 5-8 - Purl 4 stitches, knit 4 stitches, and repeat till the end of the row.
Repeat the eight rows to form the basketweave pattern.
If you are designing your own pattern, make sure to look at your project and see the basketweave look.
Step 5: Bind off and weave in ends
Once you have completed the pattern or achieved your desired length and width, bind off the project. Use a finishing needle to weave in the ends.
A basic basketweave stitch can make these projects any size you want and repeat the pattern as long as you like.
Hopefully, we have inspired you to try the stitch. What would be your next knitting project in the basketweave pattern? Make sure to check some other beginner-friendly knitting projects.
Follow our blog for more knitting inspiration, techniques, tricks and tips on yarn crafts!
