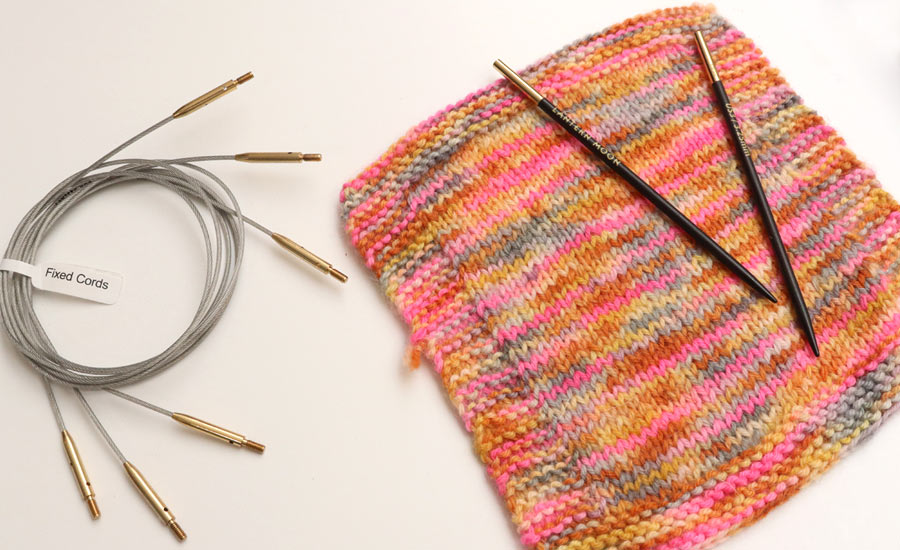
Have you ever started a project inspired by the beauty of the pattern or tempted by the feel of the yarn? As a maker, knitter or crocheter you often feel the need to simply start the project but there are times that it might not turn out as you wanted. In times like this, a gauge swatch is a helping hand before you even begin with the project. It is a measure of the stitches that indicate how much yarn you’ll be needing, how the yarn behaves with the knitting needles or crochet hooks, and the size of your tools. This small yet significant step can solve many problems that you might face in your craft projects.
To measure the size of your single point, double point or circular needles or single-ended hook or interchangeable Tunisian crochet, a needle gauge will indicate the right size. It will assist you will all kinds of projects.
In this blog, let’s take a look at why a gauge swatch is important and how to get a perfect gauge.

Why does gauge matter?
Not all knitters and crocheters stitch the same way, therefore following another’s pattern and instructions might not always work. Some of us tend to create tighter stitches while others have a very loose hand. A gauge swatch will indicate whether you need to go a size higher or lower for the stitches to be similar to the pattern instructions.
Not starting with a gauge and not matching the instructions have some potential problems including:
If you’re making a sweater and you want it to fit according to the pattern or even when you are planning one yourself with your measurements, you need a gauge. If you start without one then you could end up with either an oversized sweater or one that can’t fit. A gauge will tell about the stitches per inch and therefore you can calculate according to the measurements of the sweater you are making.
Most of us buy the exact amount and type of yarn a pattern recommends. Making a gauge swatch will indicate how much yarn you need to have.
If you knit or crochet fewer stitches per inch than the gauge in the pattern, you are making smaller stitches. This means you’ll run out of yarn before you reach the end of the project. If you have more stitches per inch than the gauge in the pattern, you are making bigger stitches. This will you’ll have way more yarn leftover than you intended. This leftover yarn may not be necessarily good as the small amount goes to waste and won’t be sufficient for another project.
Gauge explains more than just fit and size, it is also a sample of the project you are planning. A 6-inch swatch will show what the project will look like. You will get an idea of how the yarn behaves with your tools and if you need to change your technique, make tight or loose stitches or change your tools.
Now that we have discussed the importance of starting with a gauge swatch, whether you knit or crochet, here’s how to get the right gauge.
How to Calculate the right Gauge?
In the Knitting pattern the gauge will be instructed as - using a particular yarn with US 8 (5mm) needles, knit a swatch of 18 stitches (S) wide and 24 rows (R) long you should get a 4X4 inch square.
In the crochet pattern the gauge will be instructed as - using a J (5mm) hook size, crochet a square of 13 single crochet (SC) 16 rows (R) long, you will have a 4X4 inch swatch.
To get the right gauge mentioned in the pattern, you need to cast on stitches and knit like instructed or crochet stitches. Once the swatch is ready, it’s important to wash and block the project. After it's dry and ready with a tape measure, mark an inch on the gauge swatch you knitted or crocheted.
Measure the number of stitches. If that matches the calculations, then you have the right gauge. If you find lesser stitches then you can choose a smaller size of a crochet hook or knitting needles. For example, if you have used US 8 or H-size hook, go for the smaller size, US 7 or I. If there are more stitches, you need to go for a size-up., like US 9 or k size hook.
There are two ways to go about the gauge.
This option works best for knitting projects such as wearables like mittens and even hats. You can begin the project and measure the gauge or just test the fit after a few rounds. Just be prepared to rip it out and start over if it doesn’t fit. A scarf or shawl project can be worked like this as they are pretty forgiving if you have not started with a gauge swatch.

This is the safest option, especially if you’re working on a larger project like a sweater. Knit or crochet, using the stitches your pattern suggests, until your swatch is 5″ – 6″ tall, then fasten off. It’s best if you wash and block your swatch.
Once you have your work-in-progress or swatch, it’s time to measure the gauge. Here you can take out your tape measure. First, measure the number of stitches across the center of the swatch, horizontally, and count the number of stitches that fit into 6 inches. This is your stitch gauge. Also, measure vertically across your swatch and measure the number of rows that fit into 4 inches. This is your row gauge.
If you knitted or crocheted to gauge, you can get started with your project. Or, make adjustments in the size of the needles or hooks. You can also try out different materials.
If you are seeking premium knitting needles, crochet hooks, sets and whimsical accessories for your craft, all you have to do is explore the Lantern Moon Collection.
