
Have you ever knitted on double pointed knitting needles? No? Oh, they give you the idea of complexity but believe us, they are very user-friendly. To help you acquainted with them, we will learn how to knit a hat. Whether you're a seasoned knitter or just starting out, this blog will guide you through the process of knitting a hat on DPNs, ensuring you have all the tips and tricks you need to achieve the perfect result. So get your perfectly crafted premium knitting needles from Lantern Moon ready as we're about to create a classic ribbed hat.
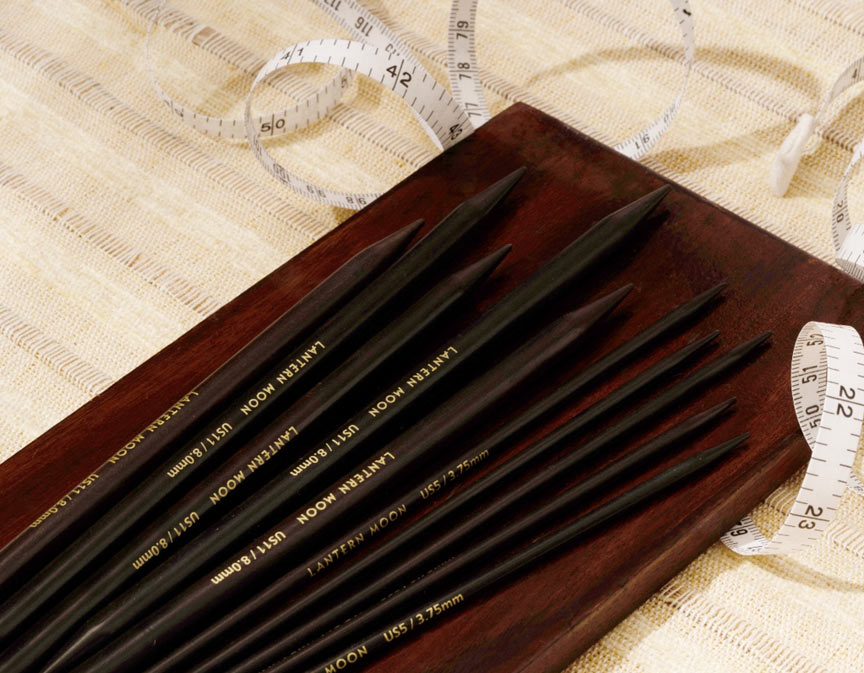
Lantern Moon's Knitting needles are like the Rolls Royce of Knitting Tools!
They're handmade with amazing ebony wood that feels super luxurious. These needles are like magic wands, perfectly balanced– so sleek and smooth. When you work with them, they glide through your stitches effortlessly. You end up with these beautifully formed loops, all perfectly tensioned.
Now, here comes the time to knit our classic ribbed hat. Let's gather the material we would require for this project.
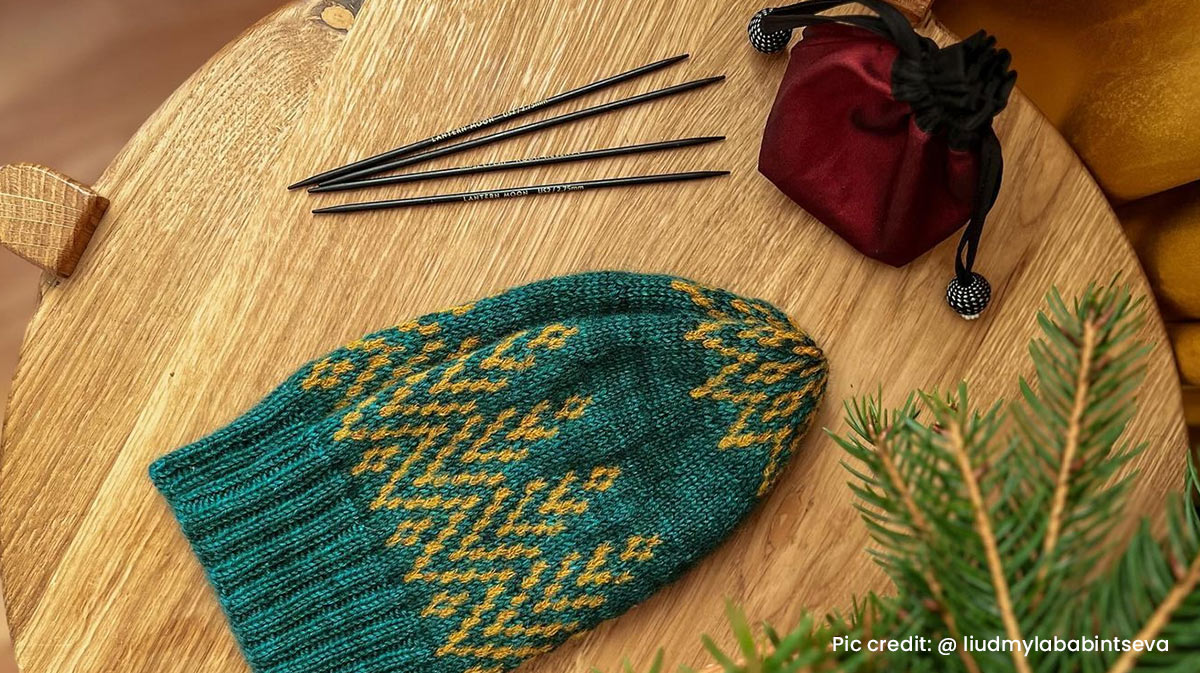
Ribbed Hat on Double Pointed Needles

Materials
Sizes: Adult - approximately 52cm measured around the head.
Dimensions: Finished length: 22cm from crown to cuff. Crown length: 6cm.
Yarn: Any 8plyDK weight yarn.
Quantity: 2 balls or approx 160m
Needle: 3.50mm double pointed needles (DPNs)
Gauge: 24-26sts x 30rows to 10cm in rib pattern, slightly stretched
Knitting Accessories: 6 stitch markers, yarn needle for sewing up
Abbreviations
k: knit
p: purl
pm: place marker
sm: slip marker
ssk: slip slip knit, a common decrease
sts: stitches
[...] Repeat the section in brackets to end
Pattern
- Cast On: You'll start by casting on 120 stitches onto your double-pointed needles. Ensure the stitches are evenly distributed across your 3 needles, with 40 stitches on each. Then, join the stitches to work in a circle, making sure they're not twisted.
- Ribbing: This is the part that goes around the bottom edge of the hat. Begin with the needle with the first stitch. With the help of the 4th needle, Knit 2 stitches, then purl 2 stitches, and repeat that pattern all the way around. Then, you'll move on to the next needle and repeat the same pattern, continuing in this manner until you've completed the ribbing round on all needles and your piece measures about 18 centimeters from the edge where you started.
Crown Shaping
- Setup 1: This step is just a small adjustment. You'll remove a marker, knit 1 stitch, and then put the marker back on. This is just to help you keep track of where you are.
- Setup 2: Here, you'll knit or purl 20 stitches (depending on what the pattern says to do) and then place a marker. Repeat this process 6 times around your hat.
- Decrease Round: This is where you start making the top of the hat come together. You'll do a special kind of decrease called "ssk" which means slip, slip, knit. Then, you'll keep knitting (or purling) until you reach the marker, slip the marker, and continue to the next marker. You'll repeat this process 6 times around your hat. Each time you do this, you'll have 6 fewer stitches than before. Keep decreasing the round every time until you only have 12 stitches left.
- Finishing: Cut your yarn, leaving a long tail. Thread the tail through the remaining 12 stitches and pull it tight to close up the top of the hat. Secure the yarn's end on the hat's inside, and then weave in any other loose ends.
And that's it! You've completed your hat.
Tips and Tricks
- Embrace the Double Pointed Needles: Don't fear those double pointed needles! With practice, you'll see they're your allies in knitting. Start with a needle size slightly smaller than the pattern suggests for a snug fit and a chance to flaunt your gauge skills.
- Circular Cast-On for Even Stitches: Begin with a circular cast-on to distribute stitches evenly and avoid unsightly gaps. The long tail cast-on works wonders but go with your favorite method. Just make sure to divide the stitches evenly and join in the round without twisting.
- Bid Farewell to Ladders: Say goodbye to those pesky ladders between needles by snugly tightening the first two stitches on each new needle. This simple adjustment smooths transitions.
- Harness the Power of Stitch Markers: Stitch markers are your secret weapon! Use them to track pattern repeats, decreases, or any crucial points in your hat. Employ different colors to mark various sections of the pattern, sparing you the hassle of constantly counting stitches. They're a time-saver and sanity-keeper.
With these trusty tips and tricks, you're all set. Try tackling different projects using different knitting needle sizes! Whether it's socks, mittens, or even small toys. Just keep on learning and taking a step up.