
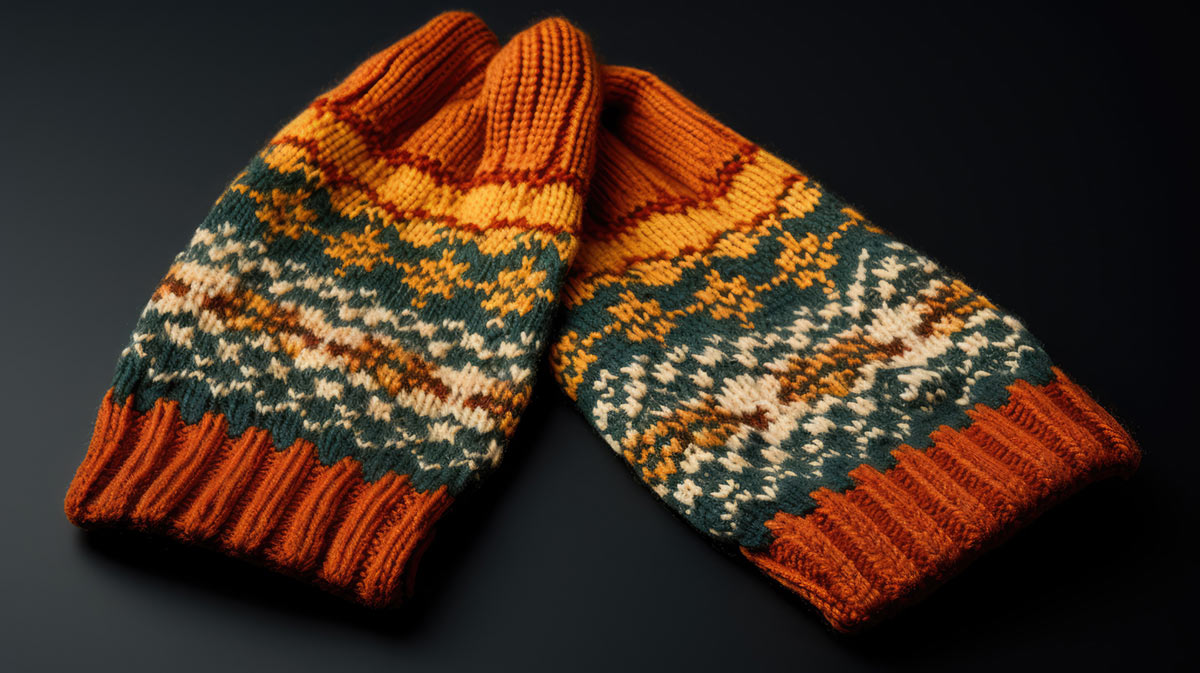
Fingerless gloves in diverse and edgy designs have become a must-have accessory, this winter. They offer a nod to retro style and are super practical for outdoor phone use, making them an essential addition to any trendy wardrobe.
Knitting fingerless gloves on either a pair of circular knitting needles or double pointed needles (DPNs) s a fun and practical project that can be accomplished during a weekend.
What Skill Level and Type of Knitting Needles are required?
Crafting fingerless gloves, whether using circular knitting needles or double-pointed needles (DPNs), requires a combination of fundamental knitting techniques along with some more specialized skills.
Basic knitting skills:
- Casting on stitches
- Joining the stitches in a circle and knitting continuously around.
- Knitting and Purling
- Invisible Increases. (Head over to this article to learn more.)
- Binding off stitches
Fingerless mittens are knit in smaller rounds, so the techniques you'll employ can vary significantly depending on whether you opt for circular knitting needles or double-pointed needles (DPNs). Understanding their differences is crucial when it comes to develop your personal preferences for one needle type or the other.
Small Rounds on Circular Needles
The Magic Loop method is a popular choice for knitting small circumferences, such as in fingerless gloves. The key skill to master here is managing long cables, i.e. becoming comfortable with manipulating the excess cable, pulling loops of the cable out to accommodate the small circumference of your work.
Two Circular Needles’ Method
Alternatively, for those who might find the Magic Loop challenging, the Two Circular Needles method offers a viable solution. This approach is particularly recommended when using short circular needles with short cables, as they are ideal for knitting smaller rounds. The method requires you to divide your stitches between two circular needles and then knit with each set of needle tips in turn.
Working Fingerless Gloves on Double-Pointed Needles (DPNs)
For those who prefer a more traditional approach or are knitting items with very small circumferences, double pointed knitting needles are the go-to choice. The fundamental skills here include stitch division—getting used to dividing your stitches among three or four needles that form a triangle or a square and then knitting with the fifth.
Managing Needle Transitions when using DPNs
A critical aspect of working with DPNs is ensuring smooth transitions between needles. This involves carefully managing your stitch tension as you move from one needle to the next to prevent creating gaps or ladders in your work. You can learn more about how to avoid laddering in this post.
Knit Fingerless Gloves Step by Step
Materials Needed:
- Choose a yarn suitable for your project, e.g. DK, worsted weight or sports yarn.
- Knitting needles in the size appropriate for the yarn you're using.
- Stitch marker and a stitch holder, a yarn needle, and scissors.
Gauge Swatch:
Before starting, knit a swatch to ensure your finished gloves will be the right size. Adjust your needle size if necessary to achieve the desired gauge.
Cast On and Ribbing
Step 1: Decide on the width of your gloves and cast on enough stitches to wrap comfortably around the wrist, usually between 30 to 50 stitches, depending on your yarn and needle size.
Step 2: Start with a ribbed pattern (e.g., knit 2, purl 2) for about 1 to 2 inches (2.5 - 5 cm) to create the cuff of the glove.
Step 3: Continue in stockinette stitch (knit all rounds) or any pattern of your choice until the glove reaches the base of your thumb.
Gusset Increases and Thumb Hole
Step 4: Place a stitch marker to indicate the beginning of the gusset increases.
Step 5: On the next round, you'll start increasing at the gusset point. A common method is to make one increase (like a knit front and back (kfb) or a make one (M1)), knit a stitch (or a few, depending on the pattern), and then make another increase. These increases gradually form a triangle-shaped gusset on the side of the glove.
Step 6: Knit all rounds, repeating the increase round every other round (or as specified by your pattern) until you have increased enough stitches for the thumb gusset. The number of increases depends on the size of the glove and the thickness of the yarn.
Step 7: Once you have the desired number of gusset stitches, knit to your marker, then transfer all the gusset stitches to a stitch holder. This creates a gap where the thumb will be.
Step 8: To bridge the gap created by transferring gusset stitches to your stitch holder, cast on a few stitches (the exact number depends on your pattern) over the gap. Then, continue knitting in the round as per your pattern.
Step 9: Continue knitting the hand portion until the glove reaches the base of your fingers or as long as you want it to be. Bind all stitches off.
Complete Hand and Finish the Thumb
Step 10: Once the hand is complete, return to the gusset stitches on your stitch holder and place them back onto your needles. Additionally, pick up a few stitches over the gap where you previously cast on new stitches for the hand. This helps to close potential holes.
Step 11: Knit in the round until the thumb is as long as you want it to be. This is usually just a few rounds to cover the thumb up to the desired length. To manage this extreme round of just a few stitches it is recommended to use three double pointed knitting needles. Bind the thumb stitches off, and use the tapestry needle to weave in any loose ends.
Repeat all steps for the second glove.
Explore Lantern Moon's exceptional range of handcrafted knitting needles, including fixed circular, interchangeable, and durable double-pointed options, all meticulously crafted from premium ebony. By choosing Lantern Moon's handcrafted needles, you're guaranteed an unparalleled smooth yarn glide and utmost stitch precision.