
Knitting in circles is not new. In fact, the oldest depiction of knitting that exists is that of a Madonna, halo and all, sitting in a lush garden and knitting away on a shirt on a set of double pointed needles. At her feet lies little Jesus and is supposed to read, but he is clearly so excited about his new garment and the cool, new craft his mother has learnt. Master Bertram painted this happy scene for an altar around 1400 AD after a trip to Italy, where knitting in the round was supposedly invented. Soon, this new way of seamless knitting would become a pastime for noble and educated ladies all over Europe.
Still a few centuries to go before the circular needle would be invented and knitting in the round would reach a completely new level.
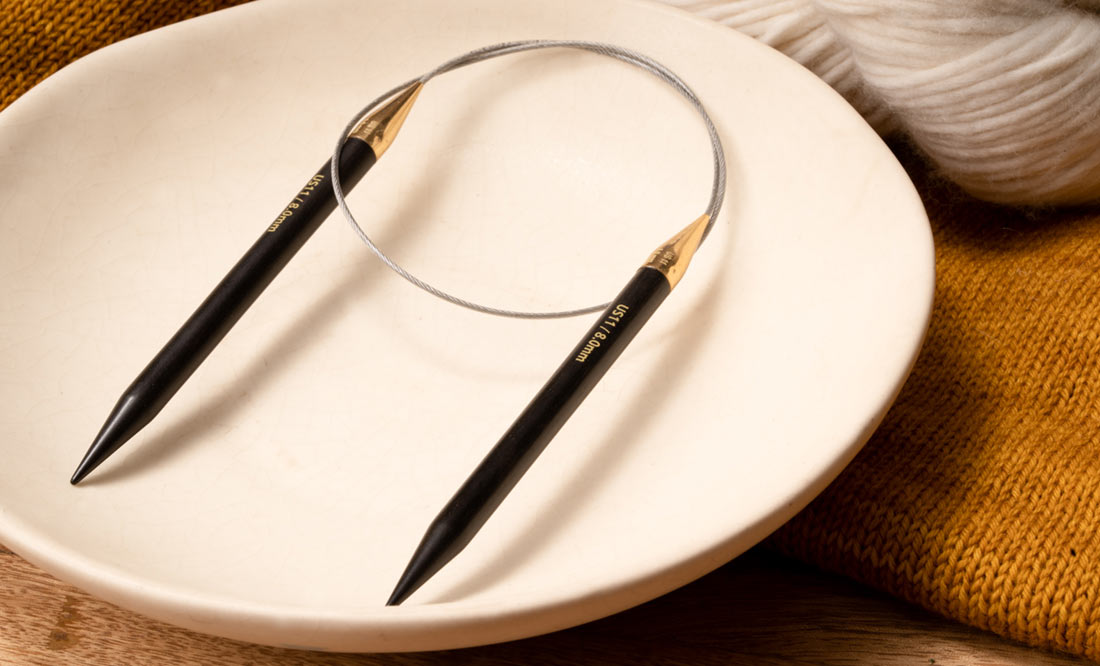
Although circular needles can be used for flat knitting, too, their primary purpose is that of knitting garments without seams, such as sweaters, hats or shirts for the little ones in the household. There are three, slightly different ways of joining your knitting to a round, and thanks to the invention of the Magic Loop, even knitting of very small tubular items is possible, if your knitting cable is flexible enough.
Knitting with a jog
When I learnt how to knit in the round on a fixed pair of circular needles, I did not use any special technique. I just started knitting the infinity circle without turning my item. What you get then after completing one round is a steppy jog or a helix, though. After finishing my piece, I have always used the yarn tail to repair the step. You just pick up the end and go with the yarn needle past the slipknot, unter the V of your first stitch. Then you pull and the jog almost magically disappears. This is the easiest way of knitting in the round. It will give you a nice finish without any stairs, and you have to weave in the tail anyway.
Sacrificing a stitch
This technique is a more sophisticated one, and it will give you a seamless, stairless transition, too. When casting on, you just add one extra stitch, which will then get lost along the way. Before you start to panic, hear me out:
After casting on, turn all your loops and make sure nothing is twisted, then push that first, extra stitch from your left-hand over the tip and let it hang loose. Do not worry, it will actually prove quite sturdy, but you can secure it with a stitch marker or a cable needle, if you do not yet feel comfortable with this modern knitting patterns.
You slip the first stitch of your right hand needle onto the left needle. Then pick up that lost stitch with your right hand needle. Make sure to tighten your yarn enough to avoid that the swapped stitch actually appears too large. This swapping method is less fiddly than it sounds and will give you a nice, unnoticeable transition.
The Magic Loop
The newest way of going in the round is, of course, the popular Magic Loop technique. First invented by Sylivia Hauschka, this is a circular technique which requires a set of circular needles with long cables.
You want to make sure that you have a long, circular needle. Since the cable also needs to be flexible enough to be bent, try using one of our Lanternmoon Collection's interchangeable needles. They are easy to fix and not only come with a colorful, smooth cable, they also have a snug joint to prevent your yarn from getting stuck when gliding back and forth. Different cable cords are available ranging from 20 inches as long as to 60 inches.
Cast on your required number of stitches and push them down to the middle of the cable. Divide the number of stitches in half and fold the cable in half. Half of your stitches are now on one side, the other half on the other side of that same cable. Now you pull on the bit of cable between the two middle stitches and pull it out until you have half of the stitches on your left and the other half on your right hand needle. With the needle cable pointing to your left, your working yarn will hang from the back needle. Pull on the needle that is holding these back stitches and let these stitches glide back on the yarn.
Now you can knit the stitches on your front needle. When completing the half round you just slide the group of stitches back to their respective needle tip and continue. Before knitting the first round, just make sure that your stitches are not twisted! To help keep track of your rounds you can place a stitch marker at the point above the yarn tail.
After several rounds you begin to see your tube miraculously appear. Using the Magic Loop technique will give you the freedom to knit seamless, tubular projects as small as baby socks or sleeves.