
Dreaming of crocheting a pattern from an image or graph? To make this happen, you need a little imagination, skills, the magic of yarn, and the right size of crochet hooks. You can turn any photograph, cute cartoon, or geometric pattern into a beautiful crochet design. Let's cover in detail and learn how to use versatile crochet stitches to make a unique pattern.
Understanding the Concept- Crocheting an Image from a Pattern
Converting an image to a crochet pattern is similar to converting visual language to stitches. In this simple process, convert the static image to a square grid, and then each square stands for a stitch in your project. With the help of basic crochet skills and passion, you can incorporate your artwork into the project. Isn't it an incredible way of designing your project?
So, let's browse methods of converting images into crochet patterns using:
- Pixie-related charts, great for beginners.
- Graphs for color changes.
- Once you understand the stitch sequence, as well as the written pattern.
- Primary method- Graphgan Crochet, an acronym of graph and afghan.
Tools Required for Your Project
Before you start converting a picture to an image, start gathering all the required tools:
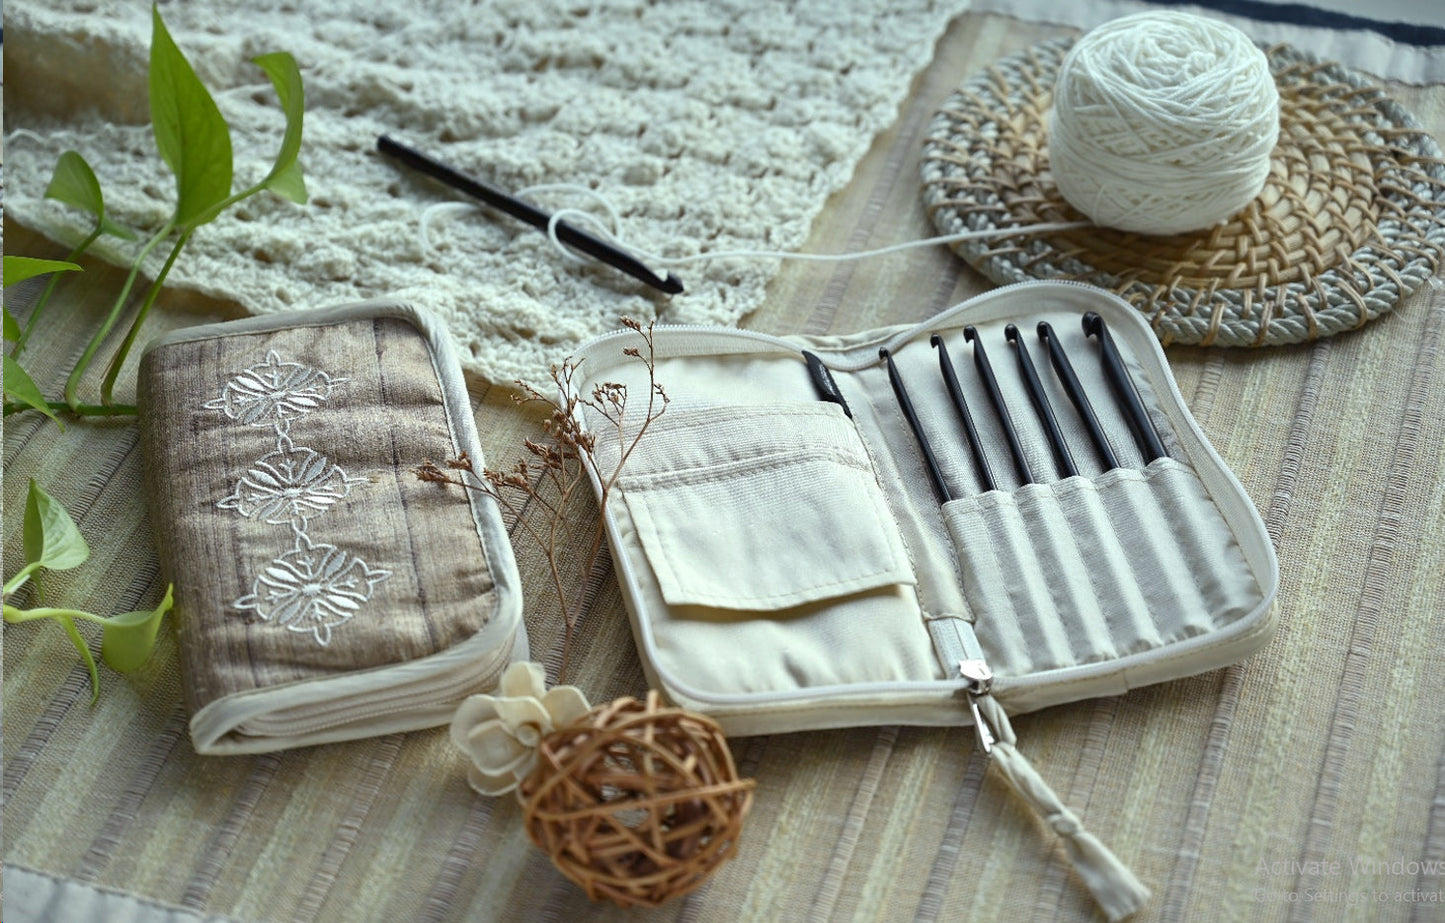
- For a beautiful crochet pattern, you must have an ideal tool like a wooden crochet hook that has a comfortable grip and warm feel, especially from the Lantern Moon collection, which beginners will love to work with. Refer to our guide on how to choose the right crochet hook size.
- It all depends on the project you want to work on, but if you choose DK yarn, it is easy to work with because it is lighter and delicate to handle.
- Crochet accessories are essential and work as a supporting tool, like stitch markers, a finishing needle, measuring tape, and folding scissors.
- To convert an image to a grid, use online software such as Stitch Fiddle, Pixel, and Chart Minder.
Step-by-Step Guide on Crocheting a Pattern from a Picture

Let's break down the process into the simple steps:
Step 1: Select an Image for Crocheting a Pattern
- Start with a simple, high-quality image.
- Should have at least 4 or 5 colors.
- Bold shapes or outlines.
- The picture must be clear and not too detailed. If this is your first time, try experimenting with a cartoon image or logos.
Step 2: Resize and simplify the image
- Use the Canva or Photoshop tool to resize the image, because each pixel will become a stitch.
- Keep the width and height proportional to the number of stitches and rows you can handle.
- If possible, reduce the number of colors to make the image simpler.
Step 3: Convert to a Grid Pattern
- If you are a good designer, you can either draw a picture or an image on the graph or use an online tool. Make the grid according to the type of stitch you want to make in your project.
- If you are working with a single crochet stitch (SC), rectangular grids are the best option.
- For Tunisian crochet stitches ( square grids are better).
- Either you can take out a print of the grid or mark the color manually.
Step 4: Plan yarn and Color Changes
Count on the grid, how many colors do you have? Then,
- Choose a color that closely matches the yarn requirement.
- Now, label them with numbers or letters.
- And prepare bobbins or mini balls for each color change.
Step 5: Choose Your Technique
Depending on the image or picture you want to make, you can work on the stitches:
- Single crochet- easy to learn and quick to create a pattern.
- Corner to corner technique- This is an amazing crochet technique, in which you start from one corner with small stitches and build diagonally, creating textured stitches.
Step 6: Start Crocheting the Pattern
- Start from the bottom row of the chart with a single-ended crochet hook from Lantern Moon.
- Work from left to right (left-handers) or reverse in case of right-handers.
- Carry the unused yarn behind your work, or you can use a bobbin.
- Use stitch markers to separate sections and rows. Read our blog to learn how to use stitch markers for knitting and crochet.
Step 7: Weave the loose ends and finish the work neatly
- A yarn tail will remain after every color change. Using a finishing needle, securely weave them in. If necessary, block your project to fix it.
Tips for Successful Results
Before we move further, let's consider some points for crocheting the pattern:
- Before you begin the final project, it is crucial to make a sample swatch to check the use of the Meadow needle gauge from Lantern Moon and color changes.
- Use good lighting and sit in a comfortable position.
- Make sure you block your project, this is essential in wall hanging and blankets to get a clean and professional look.
- Maintain the consistent tension throughout the project for even stitches.
Crocheting a pattern with an image is like drawing a picture. You can make it stitch by stitch, or you can use any image by following the correct method, tool, and knowledge of basic crochet stitches. With the Lantern Moon collection, explore a wide range of premium crochet hooks that prevent hand fatigue and provide effortless crocheting.