
Cable knitting is truly a sight to behold; the twists and turns of intricate designs can be created easily with any regular knitting needles. Whether you're working back and forth with single-pointed needles or circulars, or crafting a seamless round with circulars or double-pointed needles, cable stitches can be included in all your knitting patterns. Cables are great and having a cable needle around is the best solution to knitting the pattern. Cable needles are handy knitting tools. They have pointy tips on either end but have grooves on the needle body that holds the stitches while you go working on the knitting pattern. But, something as beautiful as knitting cables should not be only based on the availability of the cable needle or your knowledge of working with the specialized needle. In fact, many knitters stay away from cable knitting for the use of cable needles which they find complicated.
To get around the problem of not having a cable needle or not using one, we've found ways to improvise, often by using a pencil, a paperclip, a twist-tie, or an extra knitting needle, especially a double-pointed needle. In some cases, there are patterns that often work cable turns quicker and more efficiently without a cable needle; however, this isn't always true. In this blog, we’ll walk you through ways to knit cable patterns without a cable needle. But, if you are a new knitter or simply new to cables, then check out our guide to cable knitting patterns.
The Principle of the Thing
When knitting cables, what you are actually doing is working stitches in a different order than you would normally.
For instance, with a C4R (cable 4 right), you would typically knit the stitches in this order: 1, 2, 3, and then 4. If you were doing a 2-over-2 cross to the right, you would instead want to knit the stitches in this order: 3, 4, 1, and 2. So, in order to work a cable without a cable needle, all you need to do is arrange the stitches on your needle in the order in which you want to work them, and then knit them.
How to Do It
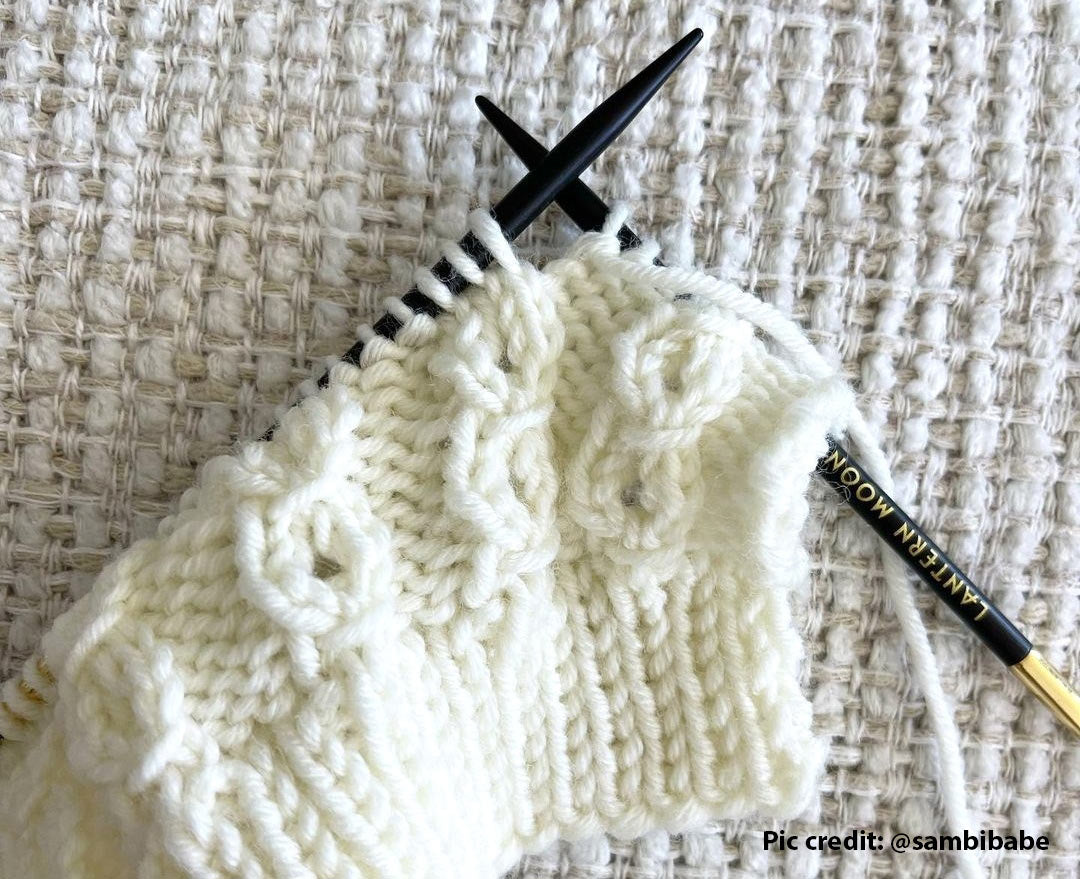
The trick is to figure out how to rearrange the stitches. Cables are worked either to the left or right or to the front or back, so how and where you place them will give them a twisted appearance.
For example, for four-stitch cables that cross two-over-two. If the cable is swinging to the right, the first two stitches must be moved behind the second two; insert the tip of the right needle—purlwise—into the fronts of stitches 3 and 4, making sure the stitches that need to be worked second are in the back of the right needle. Gently and carefully slide the left needle out of all four stitches, then quickly put the tip of the left needle—which will be in the back—into the two loose stitches to catch them, and finally return stitches 3 and 4 to the left needle.
When catching the loose stitches, focus on getting them back on the needle. Don't worry if they twist around. Simply catch them first, then fix the stitch orientation when you work them. Also, keep in mind that the pre-rearranged stitches will be pretty tight and bunched up. This is absolutely fine, everything will relax when you work the stitches. Make sure you work each stitch individually, and it helps to have pointy needle tips that do not snag the yarn.
To make a left-leaning cable, take the first two stitches and bring them over the front of the other two; insert the tip of the right needle—purlwise—into the backs of stitches 3 and 4, and follow the same procedure as mentioned previously.
Two-stitch cables can usually be done without the need for the "letting them drop" stage.
Finally, although this technique is incredibly useful, there are times when it is better to just do it the old-fashioned way, with a cable needle. For instance, if the cable crosses 8 stitches over 8, it can be difficult to fit the tip of the working needle into that many stitches. It's also important to be careful when using very fine yarn and tiny stitches; they may start to unravel more easily, and not everyone has perfect eyesight.
Overall, this straightforward method is powerful and can be applied to any kind of cable, regardless of the number of stitches that need to be crossed.
Even if you don’t completely ditch the cable needle, these methods can absolutely speed up your knitting—and make you feel very clever. If you’re itching to start cabling and do not have the cable needle, do not get disheartened you can still make interesting cable stitch patterns. These tricks will help you make beautiful cable stitch patterns with just your regular knitting needles. To make your task smoother and easier, choose your knitting needles wisely. The tip of the knitting needle should be pointy but at the same time round. Also, the needle material should make a difference.
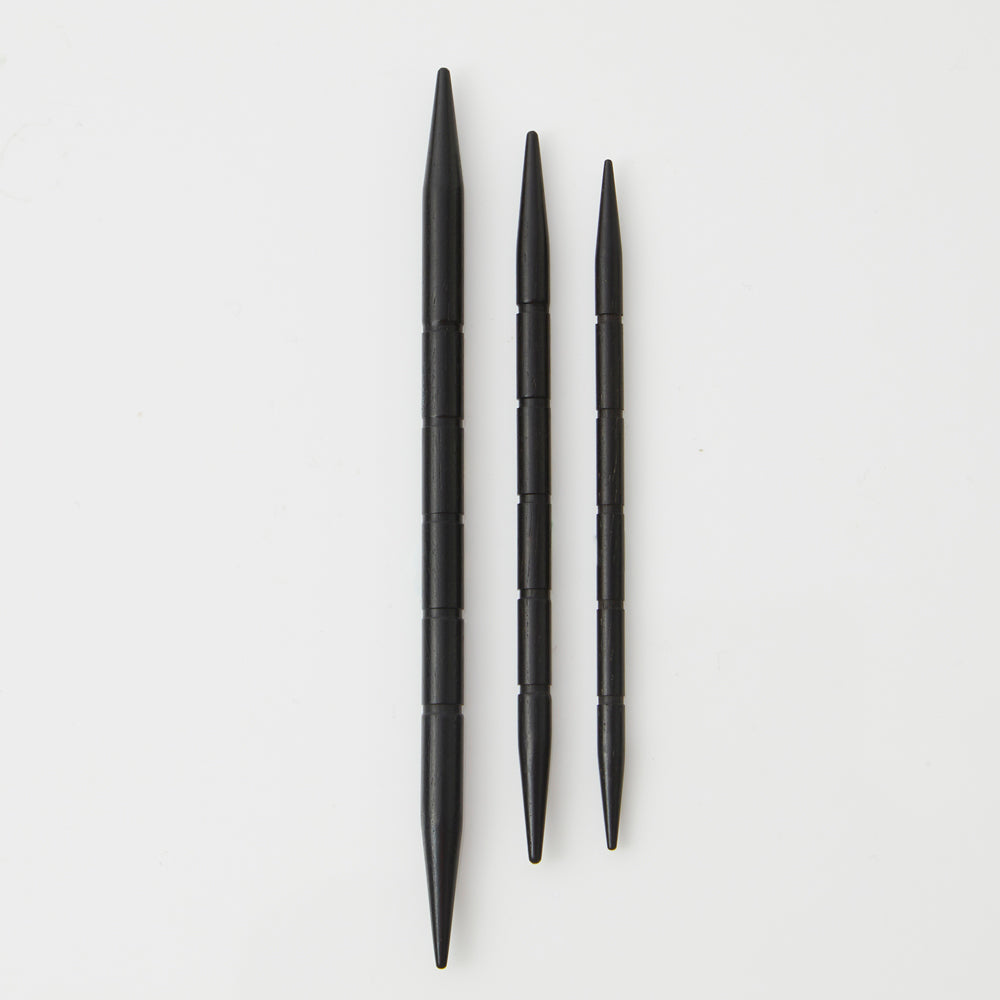
For premium ebony wood knitting needles as well as a cable needle and other accessories, explore the Lantern Moon Collection. Handcrafted by skilled artisans, the tools and accessories are high-quality products that are ideal for knitters, crocheters and even the next generation of makers.