
Knitting a sweater or a cardigan or any garment for that matter is a delightful experience. But, what if after hours of hard work, your project does not fit? Many times after you finish an entire pattern you realize that the project does not fit. If it's a small project like a hat or a pair of socks, you are still consoled, but if it's a sweater or cardigan or a complex knitting pattern, it is agony. You need to rip it out and start again or you may be giving it up altogether. To prevent this from happening, we have 7 steps to make sure your finished knits fit.
Many times knitting patterns do not fit because of the wrong size of knitting needles, different yarn weight or fiber, not getting gauge, or not following the instructions. You may be working with single-pointed knitting needles while your pattern suggests you work with circular needles. You may have also tried out a new yarn (weight or fiber) or skipped making a gauge swatch. This is why gauge swatch is important when you knit or crochet.
So here are a few steps to follow that ensure your sweaters (and other projects) fit well.
Step 1 - Always Choose a Pattern with Schematics
Knitting patterns with schematics are the best way to plan your projects if it's a garment. Socks and hats can still adjust while blankets and scarves too can bear the brunt of not exact measurements. Schematics are drawing with measurements in different sizes of the finished project. These drawings are usually provided in patterns.
It is generally not recommended to adhere to standard sizes like Small, Medium, Large, XL, etc. because those sizes can vary. It depends on the designer, the part of the world they live in, and even the year the pattern was written. Schematics help you make adjustments as no designer can know your measurements, how tall you are, how long your arms are or your curves, so consider schematics to be your best guide.
Step 2 - Measure yourself or a Favorite Sweater
Once you take a look at the schematics, you need to compare the measurements in the schematics to something. You can take your own measurements or use your favorite sweater. While the best solution is to measure yourself, for some reason if you are unable to then a fitting sweater will do. Before or after you note down your measurements, consider ease. Positive ease allows you to factor space in the knitted garment for easy movement and airflow.
Step 3 - Choose the Size of your Project
Now compare the measurements with the schematics. There will be differences in the bust length of the sweater and the sleeves but can be easily adjusted before you start knitting. Add or remove a couple of inches/ centimeters/in the sections where the schematics are different than your measurements.
Step 4 - Make Notes in the pattern for changes you plan to do
Once you calculate the differences and plan your changes, straight away note them down. When you get to knitting the section you might not remember the changes and end up knitting according to the pattern making your project not fit. Make notes in the pattern or write them down on paper and stick it to the section. You must write down what you want to change, how many inches and rows you plan to add or remove, and where exactly you will do it.

Step 5 - Make a Gauge Swatch
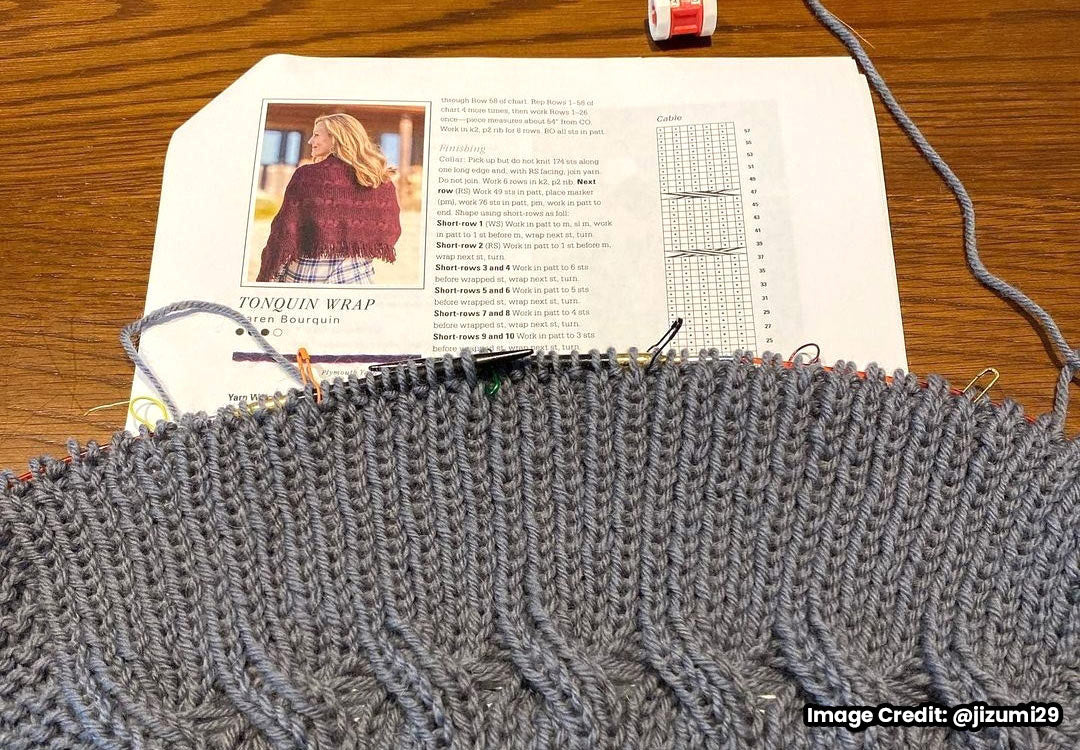
Making a gauge swatch is the most important step to make sure your finished project fits. Read the pattern and gather knitting needles - size and type (if mentioned) and yarn - weight and fiber. Read through the information and make the swatch in the same stitch pattern as the designer did. The swatch should be at least 4-6″ (10 -15 cm) square. Use the same cast-on and bind-off method if mentioned by the designer. And if it's for knitting the sleeves, knit the swatch in the round too for the best results. Even when knitting the round, using the exact size of double-pointed knitting needles. And, if working with the circular knitting needles, while the same size may be available a small length cord can help you with the swatch.
If you are working with precious (expensive or loved) yarn, or the amount of yarn you have is just enough to finish the project, don’t cut the yarn when you make the swatch. Bind off the stitches and pull the yarn through the last loop to secure it. This way, you can unravel the swatch and use the yarn in your project later.
After the swatch is finished, block the swatch. Wash, spray, or steam according to the pattern designer’s instructions or the yarn label. Lay it flat to dry. Once dry then you are ready to measure the gauge.
Step 6 - Measure the Gauge
Keep a piece of paper and a pen close, and write all numbers down as soon as you measure the swatch. With any of your measuring tapes mark an inch of the knitted fabric. With the tip of your knitting needle count the stitches horizontally for the stitch count and vertically for the row count. If your count is the same as mentioned in the pattern, then you have the same gauge as in the pattern. Now, simply follow the pattern instructions to make your new masterpiece.
If your gauge is off, then you must repeat step 6 with a different size of knitting needles. That certainly doesn’t sound fun, but it is better than ripping out stitches, re-knitting the whole project, or abandoning it altogether.
The general guideline is: if there are more stitches in your gauge, choose a bigger size of needles. If you have fewer stitches, then select a smaller one. Experiment with different sizes until you get the same gauge as the gauge in the pattern. Even if the gauge does not match and you love the effect then go ahead with knitting the project. Or, if the count is off by a few stitches then recalculate your stitches according to the measurements and schematics.
With your gauge, get ready to cast on stitches and knit your project.
Step 7 - Measure the Project as you knit
The last step to make sure that your finished knit fits is to measure the project. Once in a while or after knitting particular sections, place the knitted piece on a flat surface, and measure it. Then compare your measurements with the ones in the pattern to see whether you are on track.
If you follow all the above steps, this sweater will become your new favorite when it comes off your needles. If you are looking for a quick and easy project, then follow our guide on knitting a cardigan on circular knitting needles.
For knitting, a sweater or cardigan or even projects such as a blanket or scarf, quality knitting needles produce quality knits. The Lantern Moon collection offers premium ebony wood knitting needles, crochet hooks and accessories. Handcrafted by skilled artisans, the Lantern Moon products are made with ancient traditions and craftsmanship.