
The magic circle in crochet is a technique for starting circular projects in the round. All you need is your crochet hook, yarn, and an understanding of basic crochet stitches. Learning to work on a crochet magic circle will change how you work in the round. There is no better way to start a beautiful crochet hat or Amigurumi toy.
In the crochet world, the terms magic circle is the same as magic ring and magic loop. They are frequently used interchangeably and refer to the same technique. This blog will walk you through the step-by-step instructions for making a magic circle.
What is a Magic Circle?
The magic circle method is an adjustable technique to start a crochet project in the round. The yarn tail pulls to close the center hole while also giving the freedom of adding as many stitches as needed. Unlike the foundation chain joined into a circle for starting with projects in the round, there is no hole in the middle. The technique works best for patterns such as Amigurumi toys or hats, baskets, etc. Once you master the method you’ll be using it for most of your projects. Learning the magic circle is one of the most useful crocheting techniques. If you are planning to expand your crochet skills, you must master the magic circle.

Crochet Terms Used In A Magic Circle
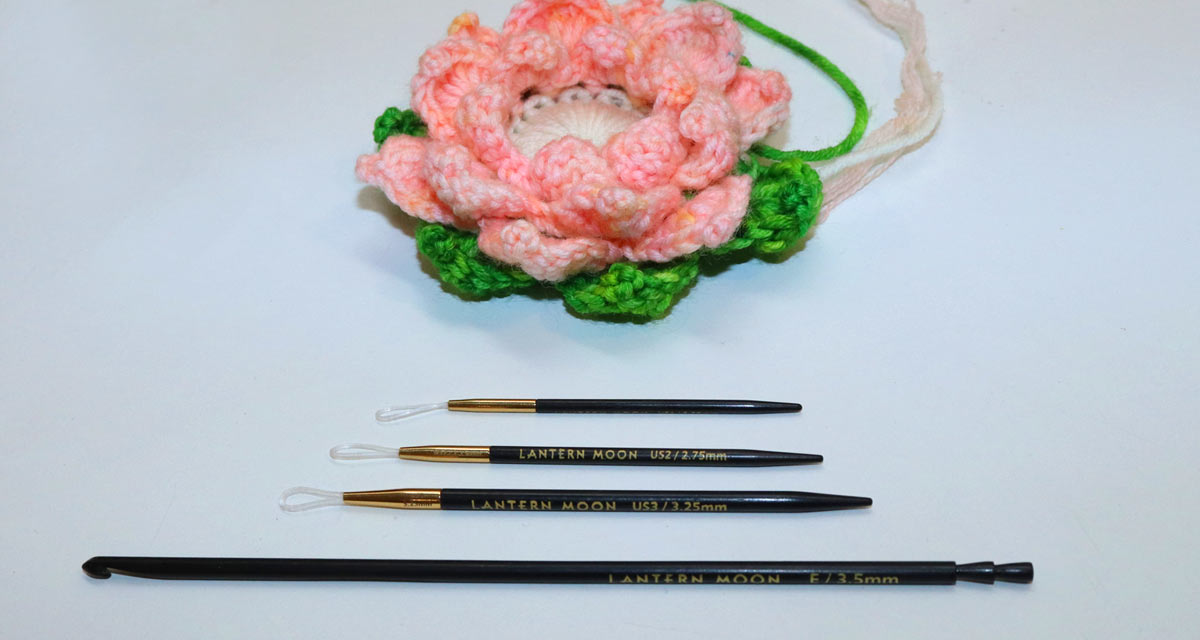
If you are a crocheter new to the magic circle but well-versed in crocheting in the round you can relate to the technique. The loop is created with your hands and then worked on with the single-ended crochet hook or the Tunisian crochet hook without attaching the interchangeable cord.
Some terms that will be often used are
Yarn End or Tail End of Yarn: When you make a slip knot, you take an extra length of thread that is not essentially used in crochet. This end is later weaved into the pattern with a finished needle after completing the project.
Working Yarn or Yarn from the Skein: This is the yarn tail that comes from the ball or skein used in the project.
Besides these, you must be adept at chain stitches while you may not be using them to start the magic circle you’ll be needing them for other steps in the pattern. Similarly, single crochet, double crochet, half double crochet and treble crochet stitches will be used in your magic loop according to the pattern or need of the project. And, like all other crochet projects you change colors (if required) using the regular steps and then weave in yarn ends.
Follow these steps and learn how to create a magic circle in crochet.
How to Crochet the Magic Ring?
The Magic Circle is worked in steps. First, you make an adjustable loop on your fingers. Next, you work stitches into the loop using both ends of the yarn. Last, you tighten the loop with both ends of the yarn, leaving no hole in the middle. Let’s walk you through the steps.
Step 1: Loop the Yarn around Your Fingers. Hold the ball or skein of yarn on your craft table or wherever you seat working on your projects. Like you pick up the yarn for a slip knot, hold the yarn. Lay your left-hand palm (non-dominant hand) flat and loop the yarn loosely around the back of your first two fingers. Cross the working end of the yarn over on top of the tail end, and to the left and with your thumb to pinch the yarn where it intersects.
Make a ring with your fingers.
Step 2: Insert the crochet hook in the circle. Pull up a loop from the working end of the yarn. Once you have a loop on the crochet hook, let your thumb free and now tension the yarn with the index finger of your left hand. Make sure to let the ring loose from your hand.
Step 3: Chain 1 or the required number of chains mentioned in the pattern or as you require for your project. For a magic circle with SC, chain one extra stitch. For the HDC chain, two stitches before starting to work into the ring, and for the DC chain, three and the TR chain, 4.
Step 4: Make stitches into the ring. Insert the crochet hook into the center of the ring from above, yarn over it, and draw up a loop to begin your first crochet stitch. Crochet over both strands: the loop and the yarn tail.) Continue making stitches into the loop until you have finished the number required according to your pattern.
Step 5: Tighten the ring. Hold on to your ring and pull the yarn tail to draw the center of the ring closed (like a drawstring bag). As you do this, the circle will close completely.
Step 6: Slip the Stitch to close the round. Be careful not to work your crochet stitch into your loop, but rather the first stitch of the round. Then, continue with the pattern. If you are working in a continuous spiral, do not join the round with a slip stitch, instead, start the next round in the first stitch of Round 1.
Whenever the circle loosens due to the slippery nature of yarn you can do this step and close this at any time. Once the tail end is weaved in, there is no possibility of its reopening. Use a finishing needle in a size smaller than the crochet hook size to neatly bury in the yarn ends.
Give the magic ring a try for your next project of making a hat, an Amigurumi toy, or a neat granny square. Follow our beginner’s guide to crocheting a hat to create a quick and stunning project with this technique.