
A scarf is a very fun crochet pattern. Simple, yet creative, it is the right challenge for a beginner or even an advanced crochet artist. All you need is a crochet hook and you have the chance to practice the basic stitches and a chance to use up some yarn stash. It feels like heaven on a cold winter day, and even on not-so-cold days; you can also just use it to add some glamor to your outfit. It can also be a handmade gift to a loved one. A scarf pattern can be easily knit as well as crocheted. In this blog, we’ll discuss how to crochet a scarf with basic crochet stitches. A chunky scarf is a quick and easy holiday gift that you can make with any stitch. If you are a beginner it can be the perfect project to try out your skills.
Before we take you through how to crochet a scarf, let us first gather our supplies.
- Pattern – A pattern is the map of your journey and for crocheting, you need one. You can choose from a pattern designer or plan one. When planning your project, you need measurements and a plan of stitches you want to use. Here we will be using single crochet stitches without any particular pattern with a single-ended crochet hook of your choice. You can go for double crochet or treble crochet stitches, but remember that the longer the stitch the more open the fabric will look.
- Yarn - You can opt for 250 yards of worsted-weight yarn. You can get it from your LYS or use up leftover stash. The medium-thick yarn is ideal for scarves to be warm without being bulky. If you love wool then take a look at how to choose the best wool for crochet. Just make sure that the yarn matches the crochet hook size. For a scarf use as many colors as you want, the end effect will be truly beautiful. Just crochet with one color of yarn for a few rows and then switch to another color.
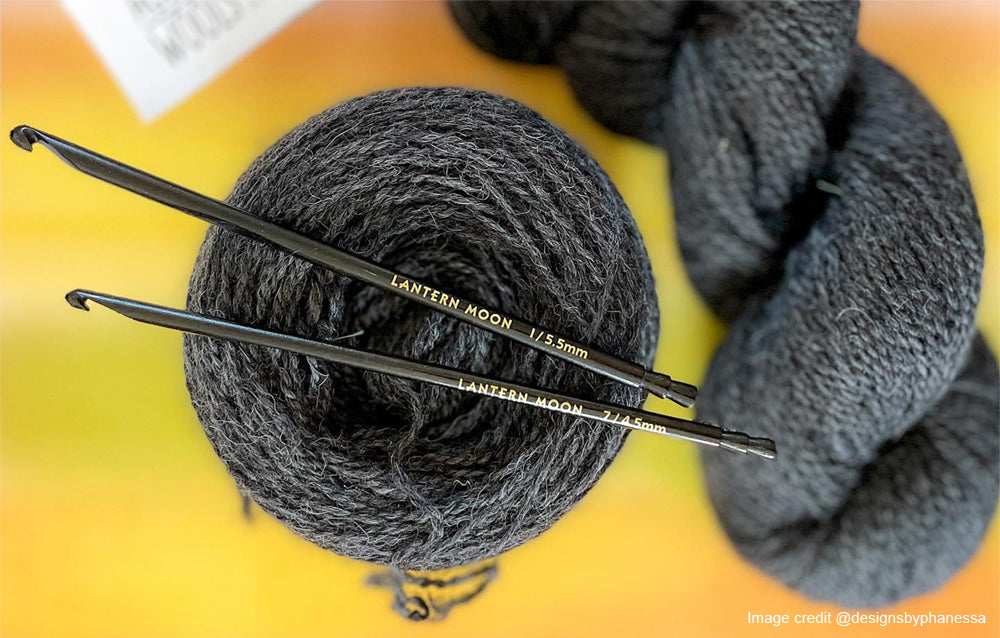
- Crochet hook – For your scarf project you can choose single-ended crochet hooks or even try out the Tunisian crochet hooks that come with interchangeable cords. The Tunisian hook is just a regular one without its cord, so you can use them for any project. For beginners working with worsted-weight yarn, US K/10.5 (6.5 mm) or L/11 (8.0mm) crochet hook sizes are ideal. If you have a pattern and follow the instructions start with a crochet swatch. You will understand if you need to go one size up or down on the size of the crochet hook depending on how loose or tight you crochet, whatever size feels comfortable.
- Gauge Swatch - A scarf is a rather forgiving project and can be made without a gauge swatch. But then why break a good habit? Before starting with the project, crochet a gauge swatch to calculate the yarn required and get an idea of how the scarf will look and how much yarn you will be needing to complete the project.
- Scissors
- Finishing needle- You will have minimum two yarn tails to weave in and if you use multiple colors there will be many to neatly bury in your crocheted fabric.
- Stitch markers
- Tape measure (for the gauge swatch as well as the scarf project)

Before you begin, it is important to understand that different crochet stitches make different fabrics. You can use any stitch for your scarf. From chunky wool to delicate lace. Textured stitches will make beautiful fabrics.
Chain = No fabric but lays the foundation to make other crochet stitches.
Single crochet stitch (SC) = Dense fabric, almost opaque, perfect for a warm scarf. Needs 1 extra chain for turning the row.
Half Double crochet stitch (HDC) = Dense but open than SC, still ideal for a warm scarf. 2 extra chains to turn the row.
Double crochet stitch (DC) = Open fabric perfect for winter and summer wear. To turn the row you need to add 3 chains.
Treble crochet stitch (TR) = The tallest crochet stitches the fabric made is open and ideal for light scarves. To turn the row add 4 chains.
Instructions to crochet a scarf
Step 1: Keep six inches of working yarn and make a slip knot. Remember to not count the knot loop as the first stitch. Crochet chain stitches (CH) till you get to 6 -10 inches (around 12- 20 stitches) and then chain an extra stitch for turning the row. Refer to the above guide for the crochet stitch and the turning chain. We will crochet the width of the scarf first and then proceed with the length.
Step 2: Continue single crochet (SC) stitches or any other stitch of your choice all the way across your starting chain, one single crochet stitch into each chain stitch until you have crocheted all the stitches of the chain. This is the foundation of your project.
Step 3: Now you will turn the row. The extra crochet stitch will be your turning chain and provides some slack to start the new row. You can put a stitch marker to mark this turn.
Step 4: Crochet row by row till you have the length you have planned for the scarf. Be careful not to crochet the chain stitches too tight or too loose, but continue a uniform loose weave.
Step 5: Finish the scarf. You may have two tails or multiple yarn tails. To weave in the tail, thread the yarn through the finishing needle and then weave it into the edge of the scarf.
Step 6: A crocheted scarf is forgiving when it comes to fit but you can block the edges with knit blockers on completion to give your project a proper shape.
Customizing Your Scarf
After you’ve completed crocheting your scarf, you can think of customizing it with some more creativity.
- Adding colorful yarns in different rows is a good way to make the scarf stand out. Crochet for a few rows and then switch the color. If you are new to crochet, check out our easy guide to changing colors when crocheting.
- Add a border to your scarf with your working yarn in single crochet stitches, the same way you finished the scarf. Make a border with another color yarn.
- Use surface stitching or crochet slip stitches to add dots, stripes, design and edging. For surface stitches, you will need to use some yarn of contrasting color and a crochet hook. You can choose the same crochet hook or a size bigger or smaller for customizing.
- Create some fringe for the ends. With the same yarn of the scarf or any other contrasting color, tie some length into the corners of your scarf and cut in equal sizes.
- If you are feeling ambitious, you can make a scarf with multiple crochet granny squares. They would be beautiful but then you need to reconsider yarn and make blocks then assemble them.
So, are you now ready to crochet your first scarf? Let’s get started! Make sure to take a look at our blog on choosing crochet hooks, knitting needles, accessories, techniques, tips and more.