
The loop stitch is a beautiful textured stitch. It is a great knitting technique to add volume to any project. With any knitting needles you can knit the loops. The stitch creates fur-type texture on a stuffed animal, makes a scarf look glamorous, is a handy dishcloth, a beautiful cushion or headband or even a warm rug. The loop stitch is easy to learn as long as you have some basic knitting skills, such as understanding knitting needle sizes, yarn that goes with it, etc. Expand your knitting repertoire, as in this blog post we’ll take you through the steps of knitting the loop stitch.
After going through our written instructions on how to knit the loop stitch, follow up with a video tutorial. Fortunately, there’s more than one video tutorial you can find on the web.
So, without further ado, let’s get started.

Step 1: Cast on Stitches
Cast on stitches in even numbers with any cast on method. For example, you could cast on 22 stitches plus 2.
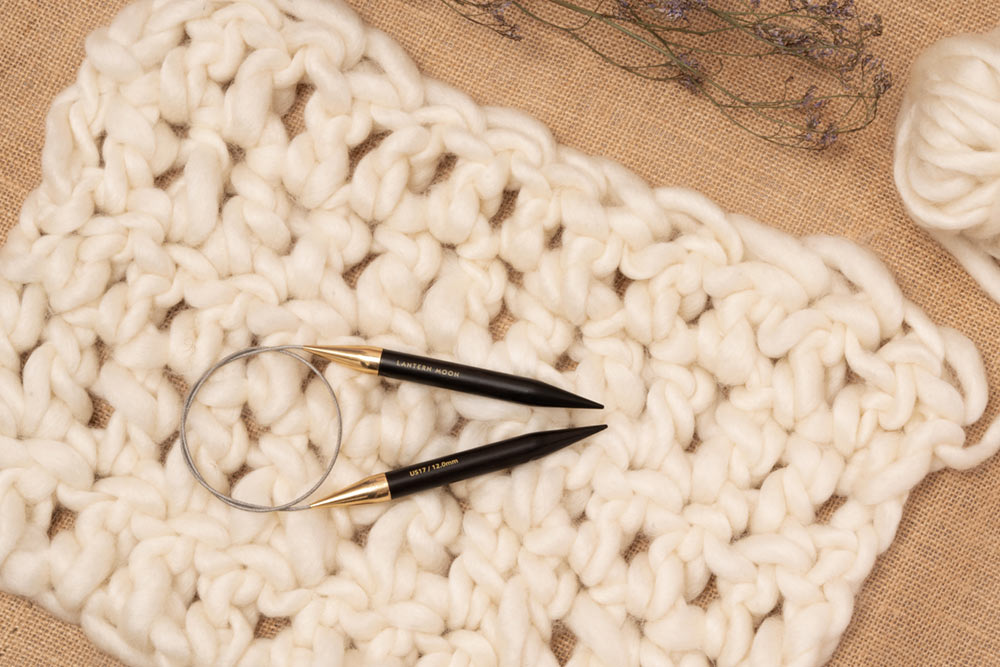
You can cast on stitches on single pointed needles or the versatile range of circular knitting needles.
Step 2: Knit the first row
Use a basic knit stitch to work the first row of your loop stitch project. Knit like you normally do till you complete the row.
Turn your project to begin a new row. When you get to the end of the first knit row, all of your stitches should have been transferred to the other needle. Take the right hand needle with all of the stitches on it, turn it around, and place it in your left hand to set you up to work the next row. It is best for new knitters to not attempt loop stitches knitting in a round as it becomes very difficult to navigate.
Step 3: Working the Loop Stitch
Slip one cast on stitch from the knitting needle on your left hand to the right one.
Insert into the next stitch as if you are going to knit the stitch, but do not complete the stitch yet.
Take the yarn strand and wrap it around the knitting needle that you just inserted through the stitch. Wrap the yarn around the needle in a clockwise fashion and then bring the strand to the front of your knitting work.
Loop the yarn around your thumb and then around the needle. Use your thumb to make the loop at the length you want it to be. If you want a long loop, then position your thumb a few inches away from the needles and for a shorter loop, position your thumb right next to the needles.
Now, Knit 1 stitch and complete the first loop stitch. The loop will be secured by the knit stitch. It is important to knit 1 regular stitch after each loop stitch or the loops will unravel.
Knit the next row. The next row should just be knit stitches to will ensure that your project is stable enough to support the loop stitches.
Continue the sequence of knit stitches and loop stitches until you have completed your project.
Step 4: Bind off and weave in the ends

Once you have got the measurements mentioned in a pattern or the dimensions you need, bind off the knitting. Make sure to weave in the yarn ends with a finishing needle.
There are plenty of knitting patterns that make use of loop stitches. To get started with a loop stitch without a pattern, it is always recommended to knit a gauge swatch. It will give a measure of your stitches helping calculate the yarn needed and how the finished fabric will look.
We hope you are inspired to try knitting with the loop stitch. Begin with a quick & easy project, maybe a headband 4 inches wide and seam in the ends with a finishing needle. Once you have had enough practice you can try out a rug or blanket.
Let’s end with the thought that it is always great to learn new stitches, techniques and tricks. If you are still at the beginning of your knitting journey, it is advisable to try different knitting needles of good quality in order to test which type and style feels more comfortable. Very soon you will find yourself easing into your own, unique knitting style.
Happy knitting!