
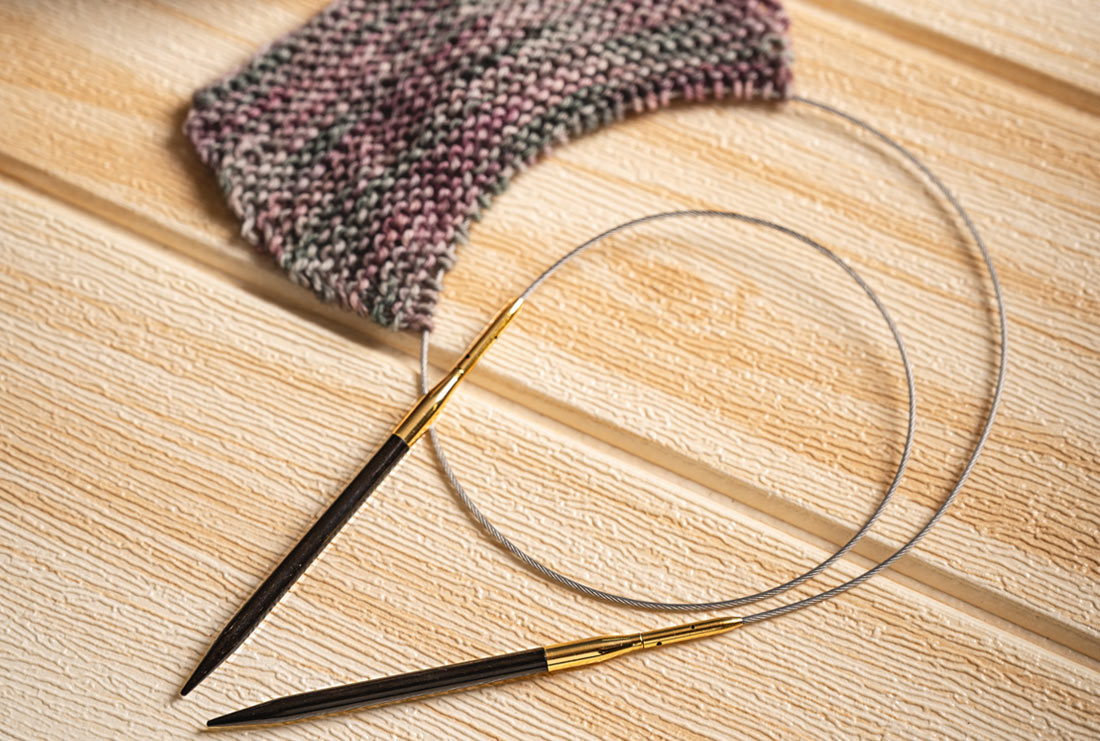
Knits and purls are the foundation of knitting. These basic stitches are what make a knitted fabric. Given the name, the knit stitch is the first stitch that all knitters learn. The purl stitch is a mirror image of the knit stitch. Both knit and purl stitches can be worked on any knitting needles, whether you are working back and forth or in the round with single-pointed, double-pointed, fixed circulars or interchangeable circular needles. If you are new to knitting, then explore our guide on knitting needles for the new knitter. Once you have your knitting needles ready we’ll walk you through the knit and purl stitches along with their differences, similarities and the combination of stitch patterns.
So, let’s get started.
Cast on Stitches
Whether you work with knit or purl stitches you have to cast on stitches. It lays the foundation of your knitting project, no matter how small or big the project is. You of course start with the slip knot but many advanced knitters forego the knot. There are many methods to cast stitches that depends on the knitting project. Many beginners learn to cast stitches with the long tail cast on or a knitted cast on. For your beginner projects, you can work with these and as you advance in your craft, you can experiment with other techniques.
The Knit Stitch
Step 1 - Hold the knitting needle with the cast on stitches in your left hand. The yarn must lead behind your work and off to the right.
Step 2 - With the other knitting needle of the pair (for single pointed and circular needles) insert it into the stitch at the end of the left needle from left to right.
Step 3 - Wrap the yarn around the knitting needle tip in a clockwise fashion.
Step 4 - Pull the yarn end tight to keep the loop in place. Pull the needle tip back out of the stitch on the left needle.
Step 5 - Slide that particular stitch off to the left needle and gently tighten your first stitch.
Repeat the steps for knit stitches as mentioned in the pattern. For practice, a row of 20-30 stitches will give you enough time to get used to stitch-making.
The knit stitch is the same, no matter what knitting needles you use.
The Purl Stitch
Step 1 - Like the knit stitch, for purl too hold the knitting needle with cast on stitches on the left hand. Keep the yarn to the front of your work if it is already not there.
Step 2 - Insert the right needle tip into the next stitch on the left needle from right to left.
Step 3 - Wrap the yarn around the right knitting needle in a counterclockwise direction.
Step 4 - Slide the tip of the right needle back through the first loop, carrying the new loop with it.
Step 5 - Slide the old stitch off the left needle tip to the right.
Follow these instructions for purl stitches as mentioned in the pattern. For practice, continue for 20- 30 stitches.

How to Tell the Difference between Knit and Purl Stitch
Once you are settled with the basics of knit and purl stitches, use the knowledge to read your knitting. The knit and purl stitches are different in the stitch making with the working yarn placed to the front or back of the project and their appearance. The knit stitch is identified as a V while a purl stitch is visible like a bump. The stitches appear as a V or bump – no matter what the stitch pattern is. From ribbing to stockinette to textured stitches such as moss stitch or waffle stitch.
Knowing about the appearance of the knit and purl stitches is useful for various reasons. You don’t have to keep checking the pattern every time. You can also use this knowledge to count rows. And, later when you’ve gained experience you can use this information to also correct knitting mistakes.
Similarities between the Knit and Purl Stitch
In knitting, there is no knit vs purl stitch. They are not true opposites, rather, they complete each other like two sides of the same coin. Both of the stitches form the backbone of all knitting stitch patterns. When the knit and purl stitches are lined up horizontally, the purled rows stand out from the knitted rows. When the stitches are arranged in vertical patterns, the purl stitches lay back and the knit stitches come forward. For example, in rib stitches also known as ribbing the stitches create an elastic fabric.
When the knit and purl stitches are in balance (same number of stitches on both sides of the fabric), as in seed stitch or moss, the fabric is stable. When you get to knitting increases and decreases, you’ll understand the balance both these stitches bring to a knitted fabric.
Knit and Purl Stitch Patterns
The knit and purl stitches open the door to all sorts of patterns. But as a new knitter, you can start with the patterns: garter and stockinette.
The names garter and stockinette came from England in the 1500s. In those days hand-knit stockings were a major industry in the country. The garter stitch was used at the top of the stocking to have a stretch fabric over the thigh. The stockinette (or stocking stitch) was used for the fitted leg portion or in fact the entire stocking except for the top. The names stuck while the stitch patterns are now used for all kinds of projects. You can knit a blanket or a sweater in garter stitches or knit a sweater or a shawl in stockinette.
Garter stitch
The garter is made by knitting every row. In fact, it can also be made with purl stitches on every row, too on the wrong side of the project. Knitting the garter stitch in the round with circular or double-pointed needles is made with alternating rows of knit and purl stitches. The reversible stitch pattern lies flat and is recognized by the horizontal ridges formed by the tops of the knitted loops on every other row.
Stockinette stitch
The stockinette stitch features in a variety of projects - scarves, socks, sweaters, blankets, hats — you name it. In fact, most beginning and intermediate designs incorporate stockinette stitch. When you alternate a knit row with a purl row, you create a stockinette stitch pattern. For example, after you cast on stitches, you knit the first row, purl the second and knit then purl, and so on). For stockinette in the round, with either circular or double-pointed needles, you knit every round as you are always working on the right side of the project.
Stockinette fabric curls on the edges and pattern designers frequently use this feature deliberately to create cuffs, socks, and more.
With this, get ready to practice knit and purl stitches. So, whether it is your knitting basic or advanced techniques superior-quality needles produce superior knits. The Lantern Moon collection offers an entire range of premium knitting needles and crochet hooks. The handcrafted tools and accessories pass on their luxury crafting experience to the makers.