
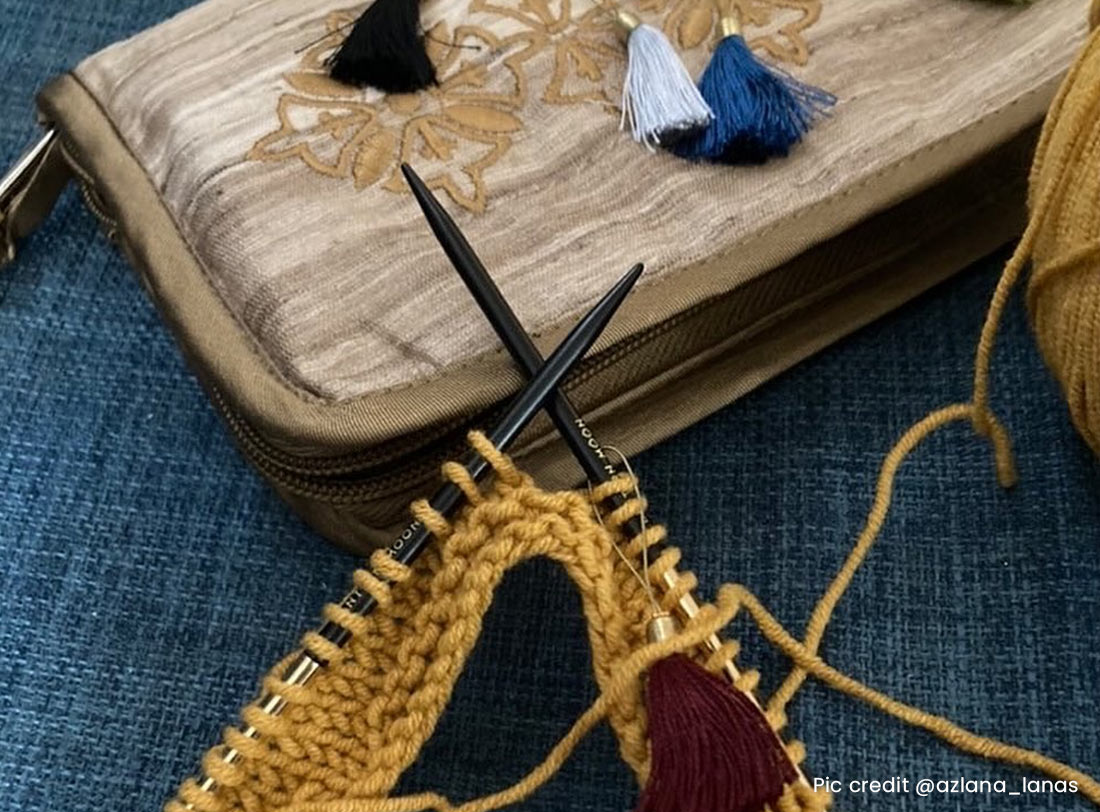
The cast-on is the first step of the knitting project unless you count the slip knot. You simply make stitches (loops) on your knitting needles with the yarn which serves as the foundation of stitches to knit into. The cast-on stitches are not counted as a row or round in almost all patterns. When you learn to knit, you start with one method, but over time you need to try out the other methods. Every project requires a way to cast stitches that suits the pattern. If it needs to be stretchy or constricted or be worked later (like a provisional cast-on). In this blog, we take a look at the steps of the long tail cast-on and its various versions. The classic knitting technique is known for its speed and stretchiness. It is in fact a popular way to teach new knitters to cast on!
Just get the knitting needles (the same size) and yarn you’ll be using for your project and you are all set. If you are a tight knitter you can cast on knitting with two needles. You generally cast stitches on one needle tip. If you are working with a pair of single-pointed needles you need only one needle. For circular knitting needles, cast stitches on one tip and then spread it over the cord till the other needlepoint. If you are working with a set of five double-pointed needles, make these stitches on one needle and then transfer them or divide them equally into the three or four needles you will be working on.
The Long-tail Cast-on

The long cast-on method uses a long tail of yarn (both tail end and working end) and movement of your hand (fingers held like a slingshot) to establish the stitches you’ll knit from. You can use the Long Tail Cast-on for just about any knitting project from a pair of socks to a hat or even a blanket (but you need proper calculations for the yarn. If you’re just learning how to cast on and knit, it is an indispensable skill.
When you use the long tail method, you have to calculate the exact or approximate length of the yarn to accommodate the stitches. We have 5 methods to calculate yarn needed for long tail cast on as miscalculations will leave you short of yarn (and you would have to start again) or a too-long tail.
Steps of how you do the long-tail cast-on:
Step 1: Make a slip knot on one knitting needle tip. Make sure to calculate a long tail of yarn as you will use both the working and tail end to make the stitches. You can choose to forego the slip knot by making a cast-on stitch. Hold the needle in your right hand (or dominant hand).
Step 2: Two strands of yarn will be hanging under your needle. Insert your left thumb and index finger between them. Hold the tail end by your thumb and the working end with your finger making a slingshot (or pistol) formation. Do clasp the yarn tails in your palm.
Step 3: Insert the needle tip under the strand that is wrapped around your thumb and then scoop up the yarn held by your index finger. Bring the yarn out through the thumb loop onto the knitting needle tip. Take your thumb out from the loop of the yarn and pull the yarn to tighten the new stitch.
Continue these steps until you have the required number of stitches or if you are practicing, 30 stitches will be enough.
This is how the basic long-tail cast-on method works. You can also explore the many variations.

Long-tail Cast-on with Two Yarn Balls
This version follows the same steps, but instead of the working end and tail end of the same yarn ball after your make a slip knot, you use two yarn strands from two different balls or skeins. This is particularly helpful when you have almost 100+ stitches to cast for a blanket or a shawl Take both strands of yarn and slip knot them together. Cast-on, as you would normally do.
One strand of yarn (say A) makes the stitches that go over the needle, while the other (say B) forms the bottom edge. When you have the required number of stitches, just cut off one yarn end. Make sure to leave a tail you can weave in. If you do not want the slip knot, drop it off the needle tip and pull it to unravel. Your cast-on stitches will not unravel.
German Cast on
The twisted German Cast on a.k.a the Old Norwegian is similar to the slingshot yarn holding and needle movements of the long tail cast-on but has some extra twists. While the steps are similar you twist the yarn held in the thumb and with the needle. It is stretchier than the long tail and blends beautifully in patterns worked in garter stitch (all rows of knit stitch) for socks, hats, cuffs, etc.
The Thumb Method
The long-tail version of casting stitches is mostly used by English-style knitters. There is no need to hold the yarn in a slingshot. Hold the tail end in your left-hand thumb and the working yarn on the index finger. One cast-on loop comes from the thumb, while the other comes from the finger.
Alternating Long-tail Cast-on
This version of the long-tail method of casting stitches follows the same steps but the difference is the way you use yarn from the thumb for the knit stitches and for purl you scoop the yarn from the index finger. It is an ideal stretchier cast on with an invisible edge to a k1, p1 ribbing pattern. This is ideal for socks, hat and cuffs that require a stretchy edge while working for ribbed patterns smoothly. The Italian tubular cast-on is similar to this.
With this, you have learned the long tail cast-on method and its different versions. Maybe you have found your technique or if not, you have new skills to boast about. You can start with any project and have a stretchy start. Begin your project, and make sure to turn the project after you’ve cast the stitches.
Happy cast on!