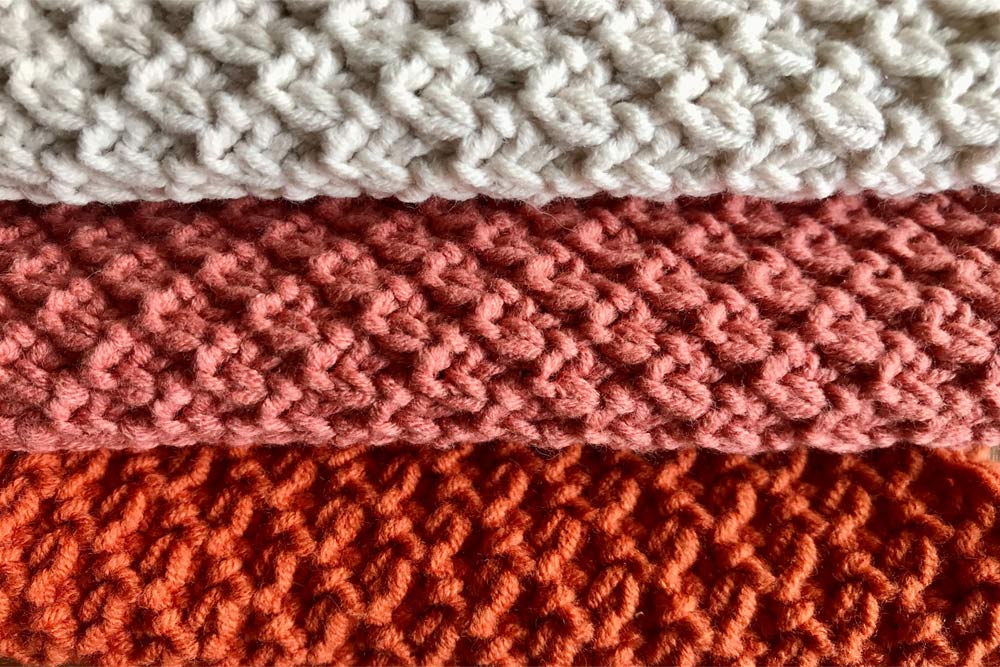
Want to try out textured knitting stitches? All you need is your knitting needles, yarn and some easy stitch pattern. All stitches in all knitting patterns are based on knit and purl stitches. The seed stitch is not different. It follows the pattern of single knits and purls that alternate both horizontally and vertically whether you are knitting flat or circular. The stitch technique is considered so easy-to-do that many patterns don't actually explain how to do it. If you are new to knitting, we’ll take you through the process of knitting the seed stitch on circular needles. We’ll also discuss the even and odd see stitch techniques.
Given the beauty of the seed stitch, you can easily use them in dishcloths, blankets, scarves, hats and pretty much everything that can be made beautiful with textured stitches. The beauty of the stitch is that it produces a fabric that is reversible, and both sides look textured.
So, let’s begin.
Step 1: Cast on Circular Knitting Needles
Seed stitch patterns are possible for both even and odd stitches. So, if you have an even number of stitches to cast on or odd numbers, you need not worry. Both will allow you to knit beautiful seed-textured stitches.
If you have a pattern, follow that and cast on the stitches, make sure that you count the slip knot as the first stitch. We recommend using circular knitting needles as you can knit both flat and round with the same pair. Also, with the interchangeable needles, you have the choice of cords in varying lengths. Use your favorite cast-on method and cast stitches on a needle.

Step 2: Knitting the Seed Stitch
The instructions for knitting the seed stitch depends on whether you are knitting an even or odd number of stitches. Of course, you will be using knit and purl stitches, but the instructions will differ.
Even vs. Odd
If you have an even number of stitches, you’ll follow this pattern:
Row 1: Knit 1, purl 1. Repeat to the end of the row.
Row 2: Purl 1, knit 1. Repeat again to the end of the row.
For projects with an odd number of stitches, the pattern is:
Row 1: Knit 1, purl 1, repeat to the last stitch and knit 1. Even if you end with knit 1, then too knit 1 again.
Rows 2 and beyond: Repeat the same instructions for the remaining rows.
If you are knitting in the round on circular knitting needles or even double pointed ones, the instructions are the same. Just remember to follow the pattern for even stitches or odd stitches. While working in rounds, make sure to place a stitch marker at the beginning of the round.
Step 3: Bind off and weave in yarn ends
After you’ve knit according to the instructions or until the dimension you wanted for the project, you need to bind off. Like cast on techniques, bind off has a variety of methods. Weave in the yarn ends with a finishing needle or a repair hook.
Now, that we’ve discussed how to knit the seed the stitch, we hope you’ll plan them for your projects. Proceed with a pattern, but, when you select a pattern make sure that the instructions are in US terms as seed stitch in UK patterns is different. You also need to look closely at the seed stitch and the moss stitch.
The seed stitch is similar to the moss stitch. Given the similarity between the two, it can be confusing as to which you should use in a project. Both stitches follow the pattern of knit 1, purl 1 in a row alternating with purl 1, knit 1. While the moss stitch calls to knit 1, purl 1 for two rows and then to purl 1, knit 1 for the next two rows, the seed stitch has single knits and single purls. Moss stitches look a bit like ribbing and are only used for even-numbered rows while seed stitches can be used on either even or odd rows.
Hopefully, you liked our tutorial on seed stitch. Give it a try for your next project. Start with a simple dishcloth. It will give you enough practice. You can browse some beginner friendly knitting projects to practice the seed stitch. After a few projects, you can try different colors of yarn.
Follow our blog for more knitting & crochet inspiration, techniques, tricks and tips on yarn crafts!
